Xerox Secure Print
Xerox Secure Print
- David Skotarczyk
Owned by David Skotarczyk
Sep 23, 2022
With Secure Print, it is possible to add a pass code to your print jobs, so they will only print once you're at the printer and put in your code.
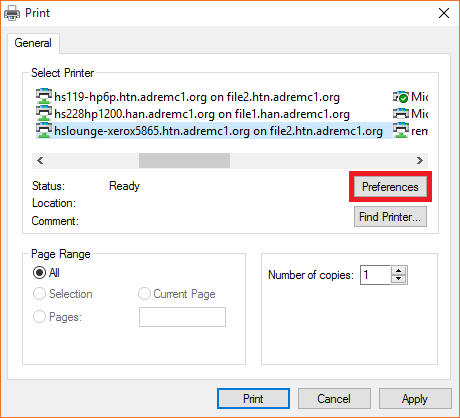
- Prepare to print your document normally, with the Xerox printer you want to use selected. Select "Preferences" to bring up the Xerox printer window.
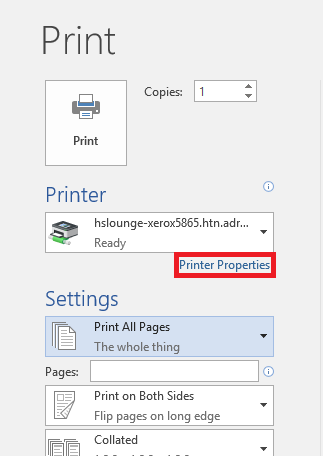
- For Chrome, you'll need to select "Print using System Dialog", then click "Preferences"

- For Chrome, you'll need to select "Print using System Dialog", then click "Preferences"
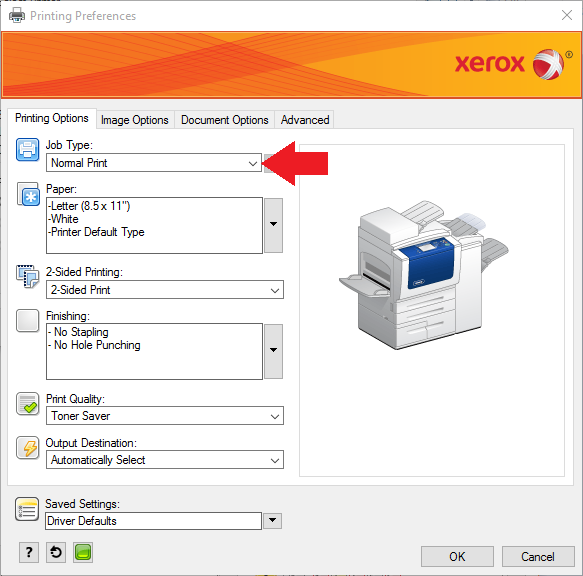
- Change the Job Type to "Secure Print...", and put in your 4 to 10 digit number in the window that pops up.

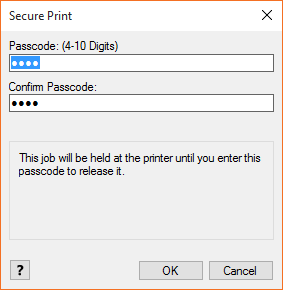
- Print as you normally would, with any settings you need, and go to the printer.
- On the printer, press the "Job Status" button on the Control Panel and select "Secure Print Jobs", then find your job.
- Enter your passcode and select "Release All" to print all your secure jobs, or select a single job and press "Release" to print a single job.
, multiple selections available,