Chrome Printers
CloudPrint has been discontinued. Follow the instructions here for printing from a Chromebook:
Set Up a Classic Network-Attached Printer
If your printer is connected to your computer via USB or a local access network, these are the instructions you’ll need to set up access via Google Print.
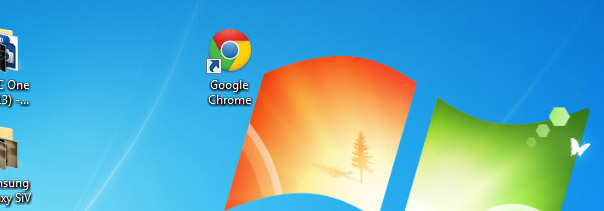
- Launch Google Chrome on the computer attached to the same network as the printer. Make sure you are signed into your Google account within Chrome.
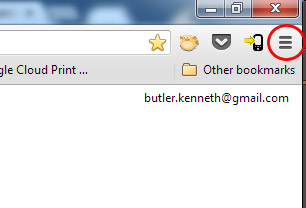
- Click the Menu button.
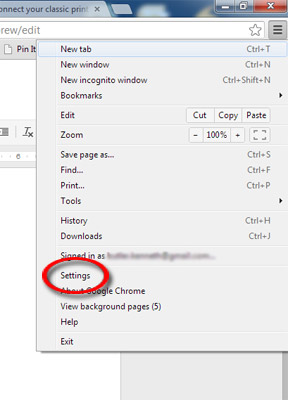
- Go to Settings.
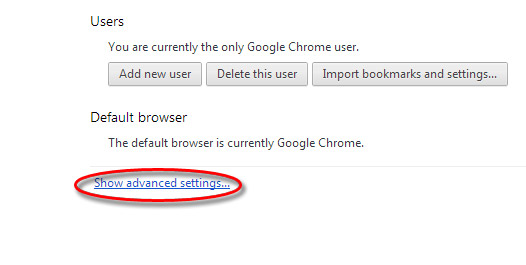
- Select Show Advanced Settings from the bottom of the screen.
- Click the “Sign into Google Print” button. This will allow you to connect your Google Account to the Google Print service.
- Tap Add Printer(s) The message will change instantly.
- Select Manage Your Printers. This will take you to Google Print.
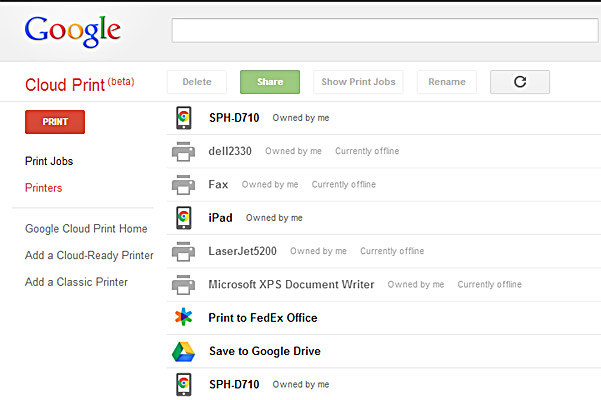
- Select Printers from the menu on the left. Here you’ll see a list of printers connected to the computer you are using.
When you print something from the Chrome browser, these printers will appear as output destinations.
Set up a Cloud-Ready Printer
If you have a cloud-connected printer, setup instructions vary by the brand of your printer. Don’t worry, Google has provided step-by-step instructions for every printer manufacturer with cloud-enabled hardware.
- Follow steps 1 - 8 above.
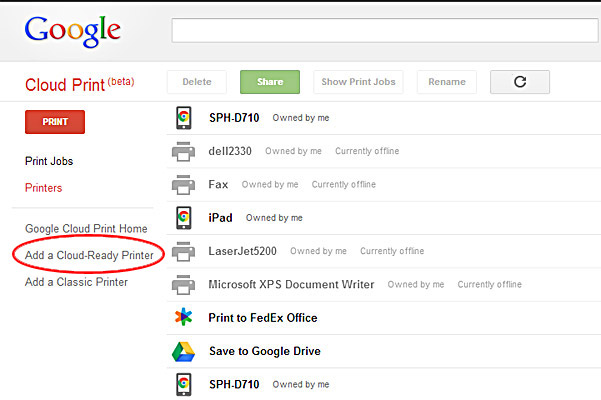
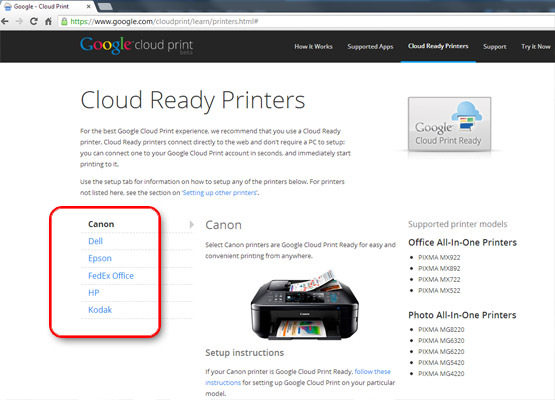
- Select Add a Cloud Ready Printer from the menu on the left side. This will take you to a Google Print page with instructions for cloud-enabled printers built by Canon, Dell, Epson, HP and Kodak.
- Find the manufacturer of your printer and follow the instructions to set up Google Print.
How to Print Using Google Print
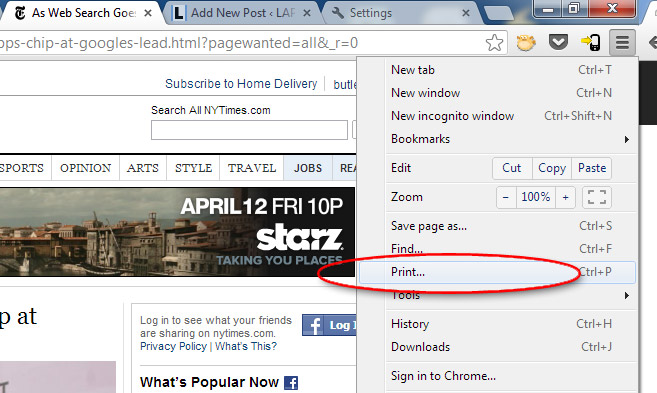
- Select the menu icon in the top-right corner of the Chrome Web browser.
- Choose Print from the drop-down menu.
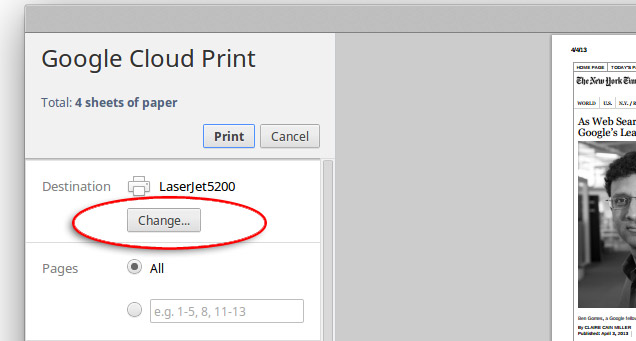
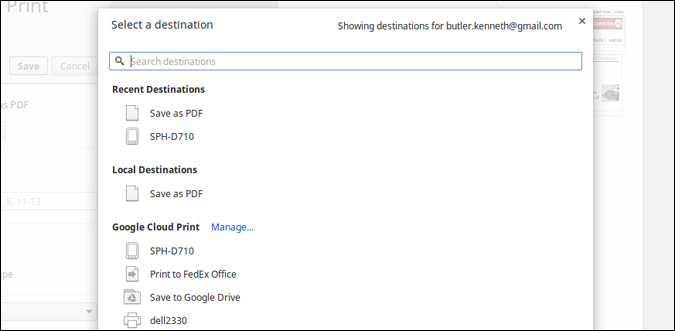
- Select the desired printer by clicking Change... under Destination within the menu on the left side
- Pick the destination printer that works best for you.
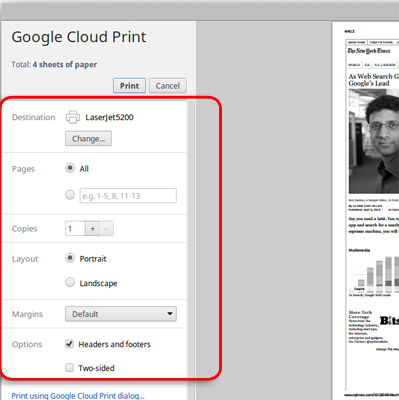
- Tweak settings such as Page Range, Page Layout/Orientation, Margins, etc.
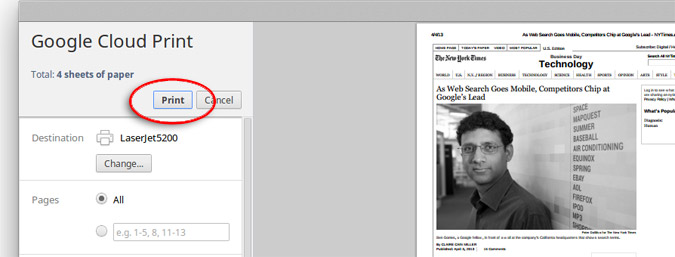
- Select Print from the options on the left side.
, multiple selections available, Use left or right arrow keys to navigate selected items
