Creating a Fusion 360 Account
- First, go to the Autodesk site at https://www.autodesk.com/education/edu-software/overview?sorting=featured&filters=individual
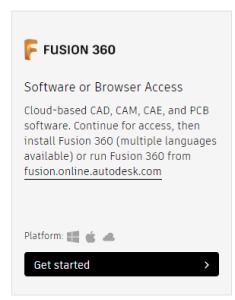
- Find the Fusion 360 "card" from the list and click Get Started
- There should be a section that says "New to AutoDesk? Create Account." Follow the link that says Create Account
- Pick the options in the dropdown that apply to you, then hit NEXT
- Fill out the form with your information, agree to the terms, and click CREATE ACCOUNT
- Fill in your Institution information (generally, the school you're with) and hit NEXT
- It should tell you your account is created and give you the option to opt-in to emails about news with AutoDesk. Hit CONTINUE
- At this point, you may be brought back to the AutoDesk site again. From there, you have to click the Fusion 360 card again. It will ask you for additional documentation. Our recommended option is the Confirmation Letter, as they will not accept ID badges without the year on them and younger students or staff may not have transcripts with the school. Upload your proof and hit SUBMIT
- The site will say thank you and you will have to wait to be verified. You should receive an email if your verification is successful, which will provide a link back to the site. Once you're signed in at the site, you can claim your license(s) for AutoDesk software.
- At this point in time there is not an automatic kickback when your documentation fails, so you will have to check back in a day or so.
, multiple selections available,
