How to create a Gmail Distribution list:
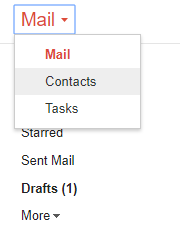
Underneath the logo in the top left-hand corner of the main Gmail page there should be a 'Mail' button with an arrow next to it. Click on that and choose 'Contacts'.
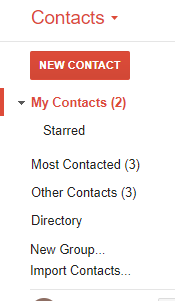
- This will bring you to your contacts. To make an email group, run your cursor over the list under the 'New Contact' button and a couple more options will appear.
(you may have to move your cursor down to Directory to see the options) - Click on 'New Group...'
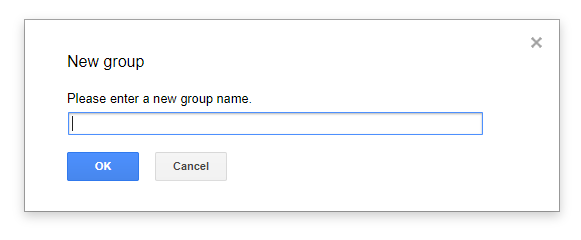
- It will prompt you to enter a name for the group.
- Click 'OK'.
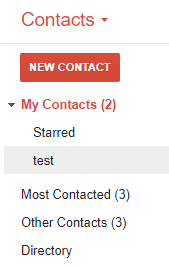
- The new group will show up underneath 'My Contacts'.
- If you don't see it, click on the triangle next to 'My Contacts' and a list of groups should drop down.
- Click on your new group.
- To add people, click the button with the person shape with the plus sign by the head.
- You can enter people by typing their email address or, if they are already in your contacts, by their name.
- After you enter all of the contacts you want, you are all set to send an email to the group.
- To send an email to the group, go back to your inbox screen.
- You can go back to the inbox screen by either choosing 'Mail' in the dropdown when you click 'Contacts' or by clicking on the logo in the top left of the screen.
- Click 'Compose'.
- In the 'To' line, enter the name of the group you created.
- Enter the rest as you need.


