NOTICE: Here is how you create a guest voucher: Creating Guest Wireless Voucher for any REMC1 Member
This guide is for the Guest Network at the CCISD and CTE
| Table of Contents |
|---|
Windows 10
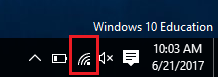
- Go to the bottom right of your screen and click the Wi-Fi Icon to see available networks
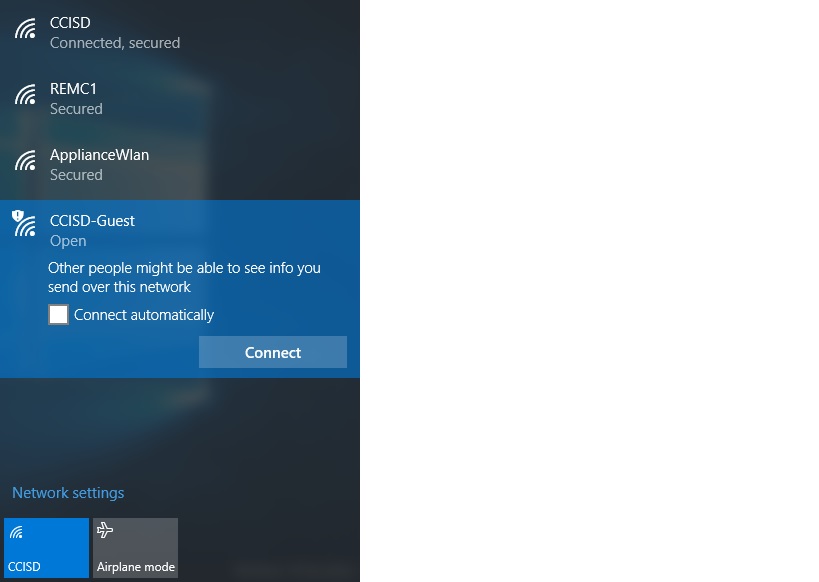
- Click on the CCISD-Guest Wi-Fi network and click Connect
- A webpage should pop up after a few seconds and prompt you for a Username and Password to get online
- If a page does not pop up, you may need to go to a web browser and try to load a website like google.com first
- The Username and password should both have been provided to you, by the person who issued the guest access
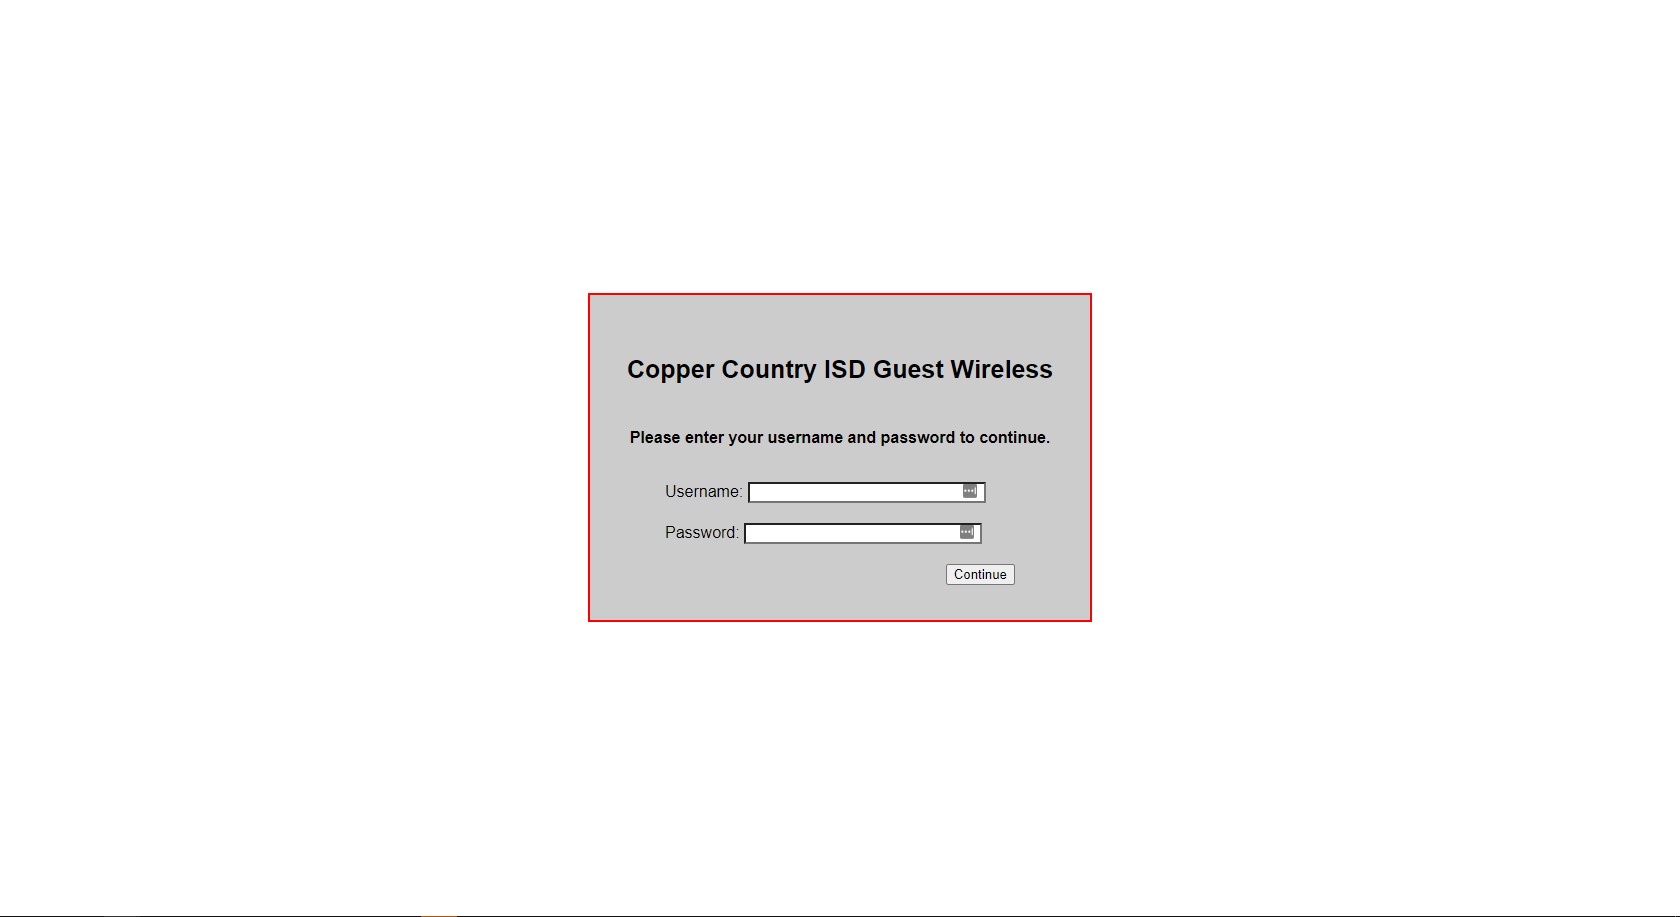
- You are now Online
Windows 7
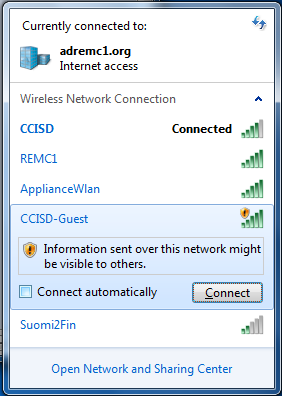
- Go to the bottom right of your screen and click the Wi-Fi Icon to see available networks
- Click on the CCISD-Guest Wi-Fi network and click Connect
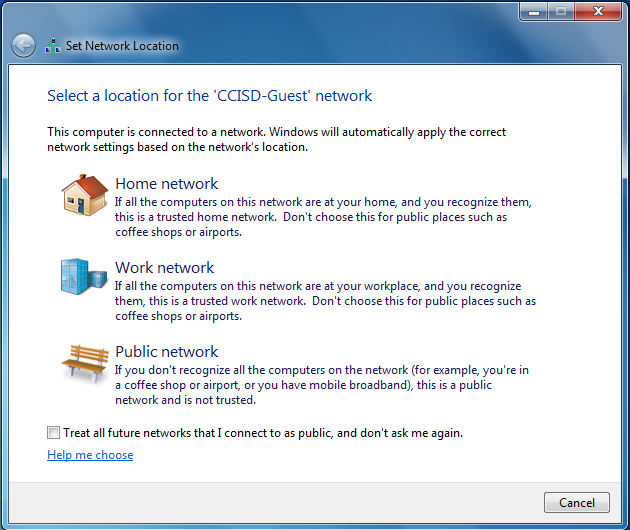
- It will ask you if you what kind of network you are adding. Select Public Network and close
- Open a web browser and go to any site like google.com
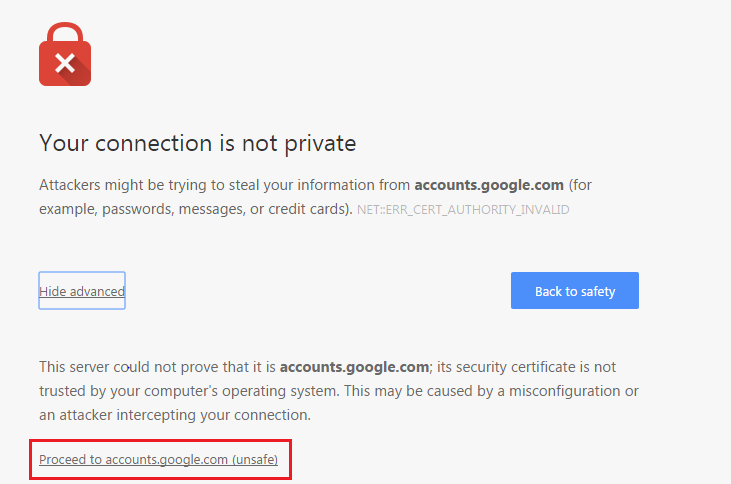
- You will get a pop up saying your connection is not private. Hit "Proceed to (website)"
- The voucher page should load, then enter in the Username and Password and click Connect
- The Username and password should both have been provided to you, by the person who issued the guest access
- You are now online
Mac
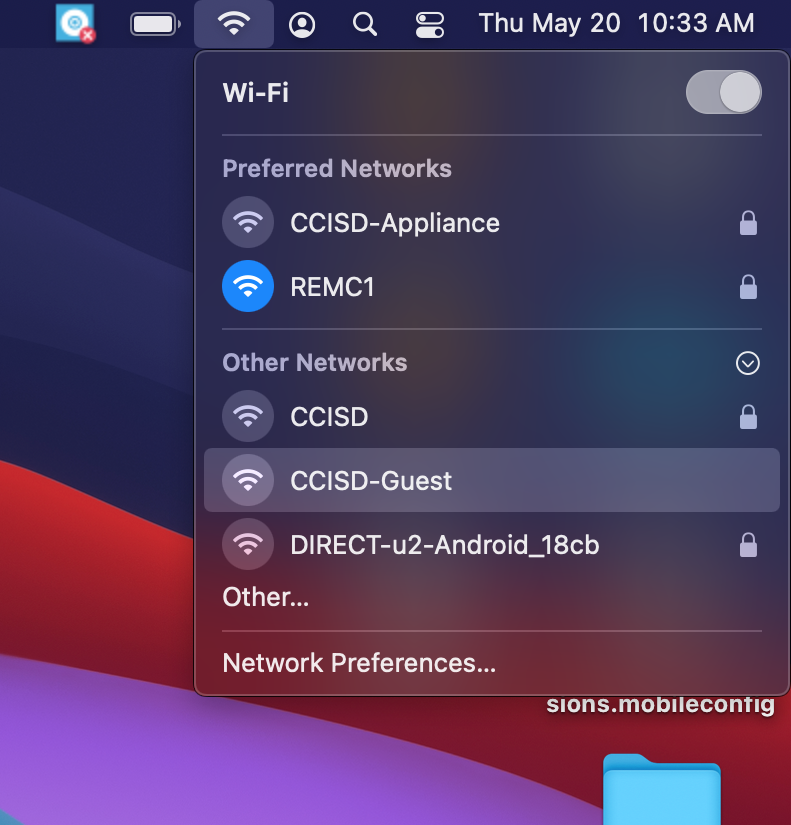
- Join the CCISD-Guest Wi-Fi network from the Wi-Fi dropdown menu in the menu bar
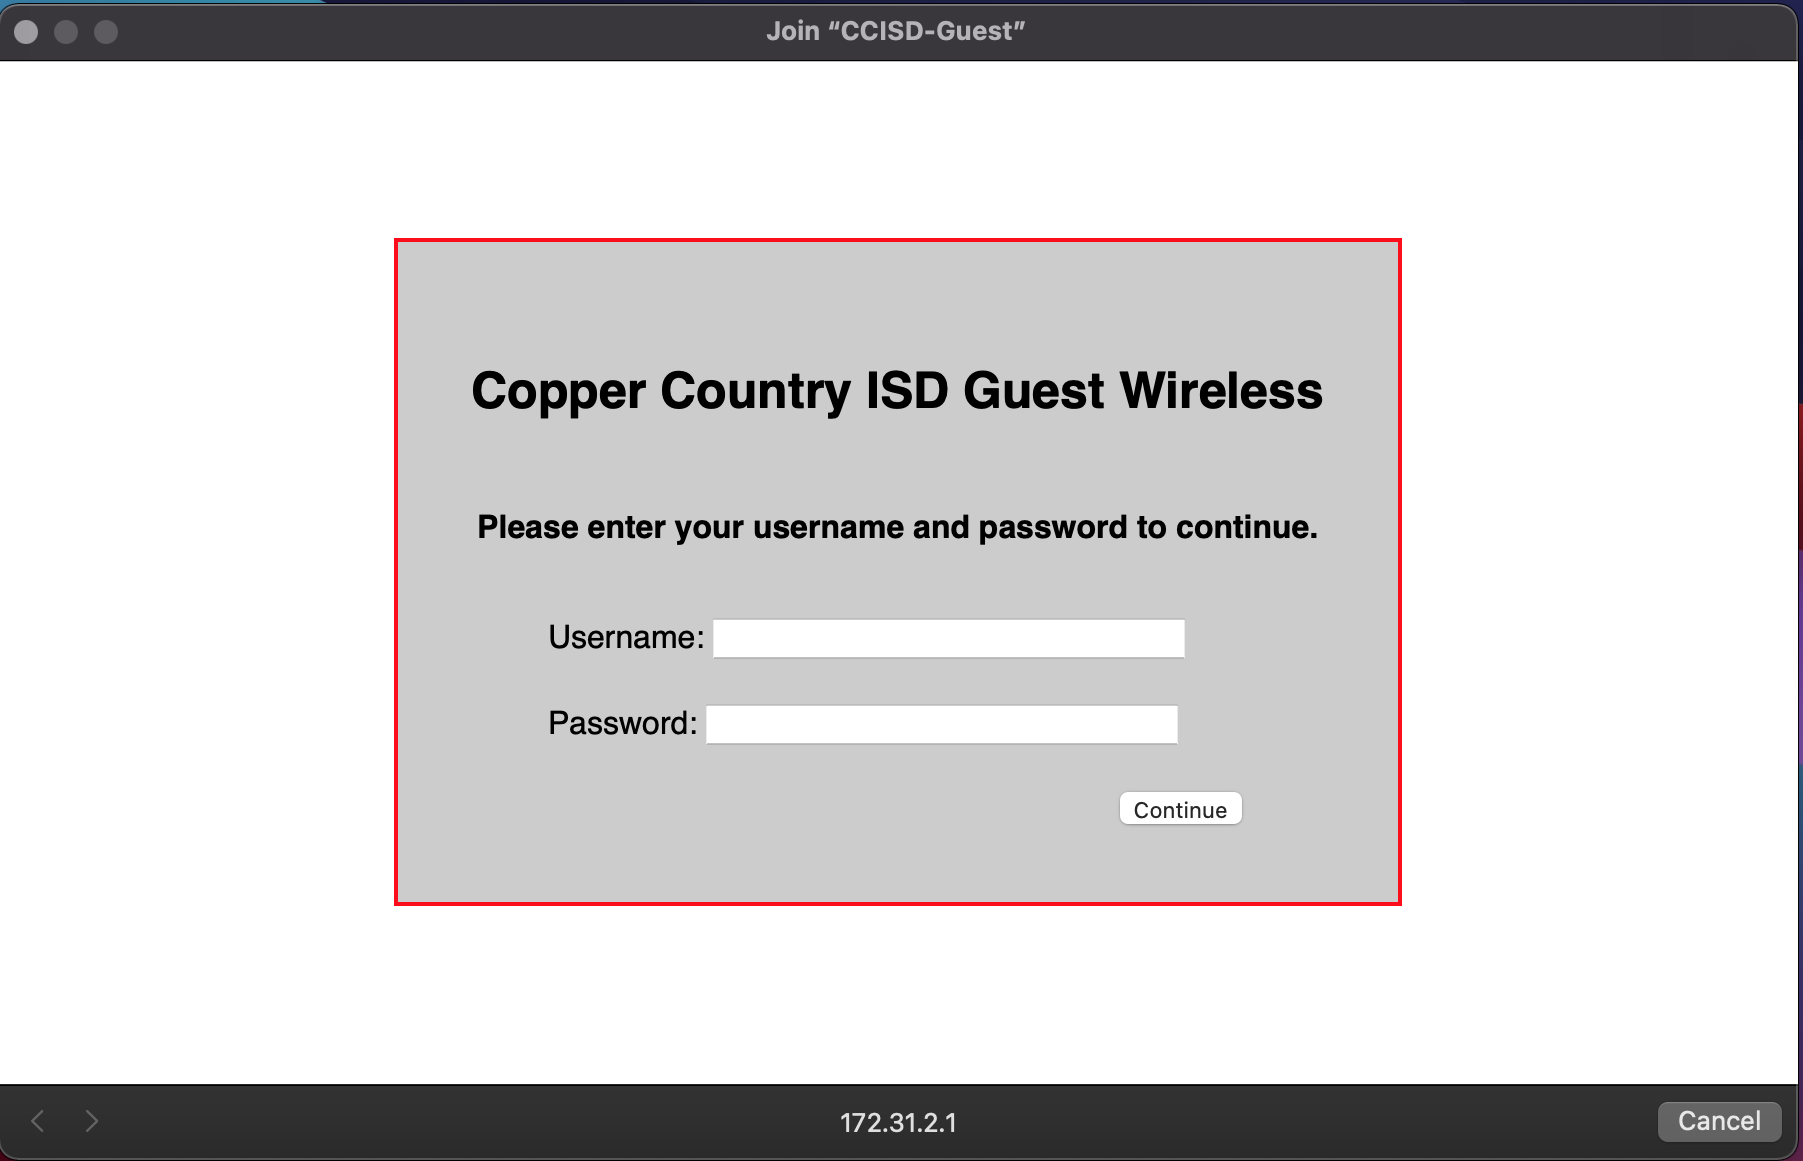
- A webpage should pop up after a few seconds and prompt you for a Username and Password to get online
- If a page does not pop up, you may need to go to a web browser and try to load a website like google.com first
- The Username and password should both have been provided to you, by the person who issued the guest access
- Once the voucher code is entered and submitted successfully the window will show the text Success, then click the Done button to finish
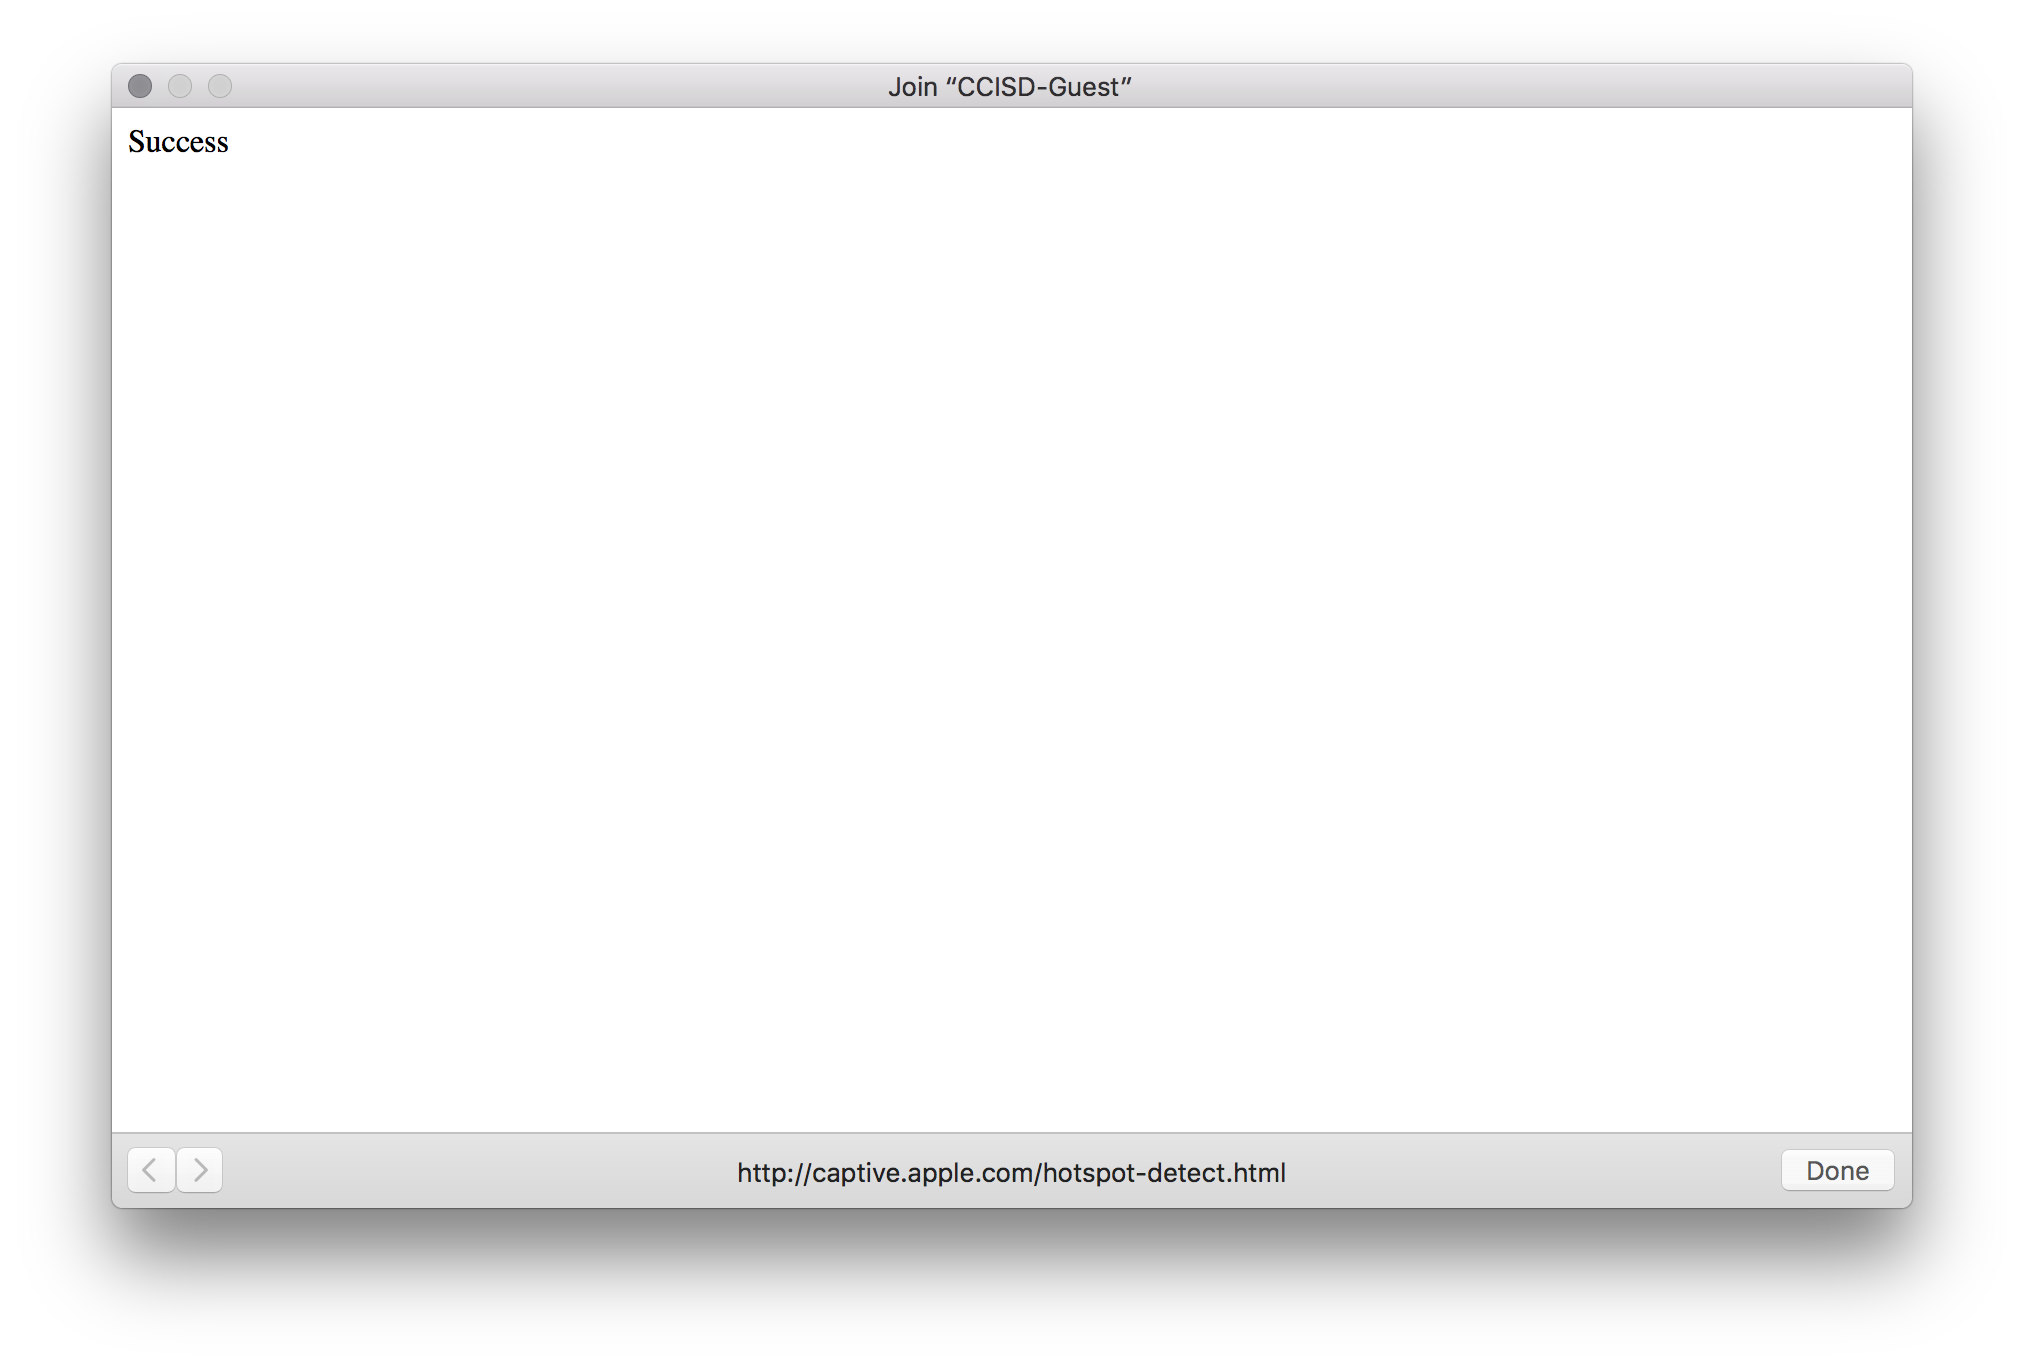
- You are now online
iOS
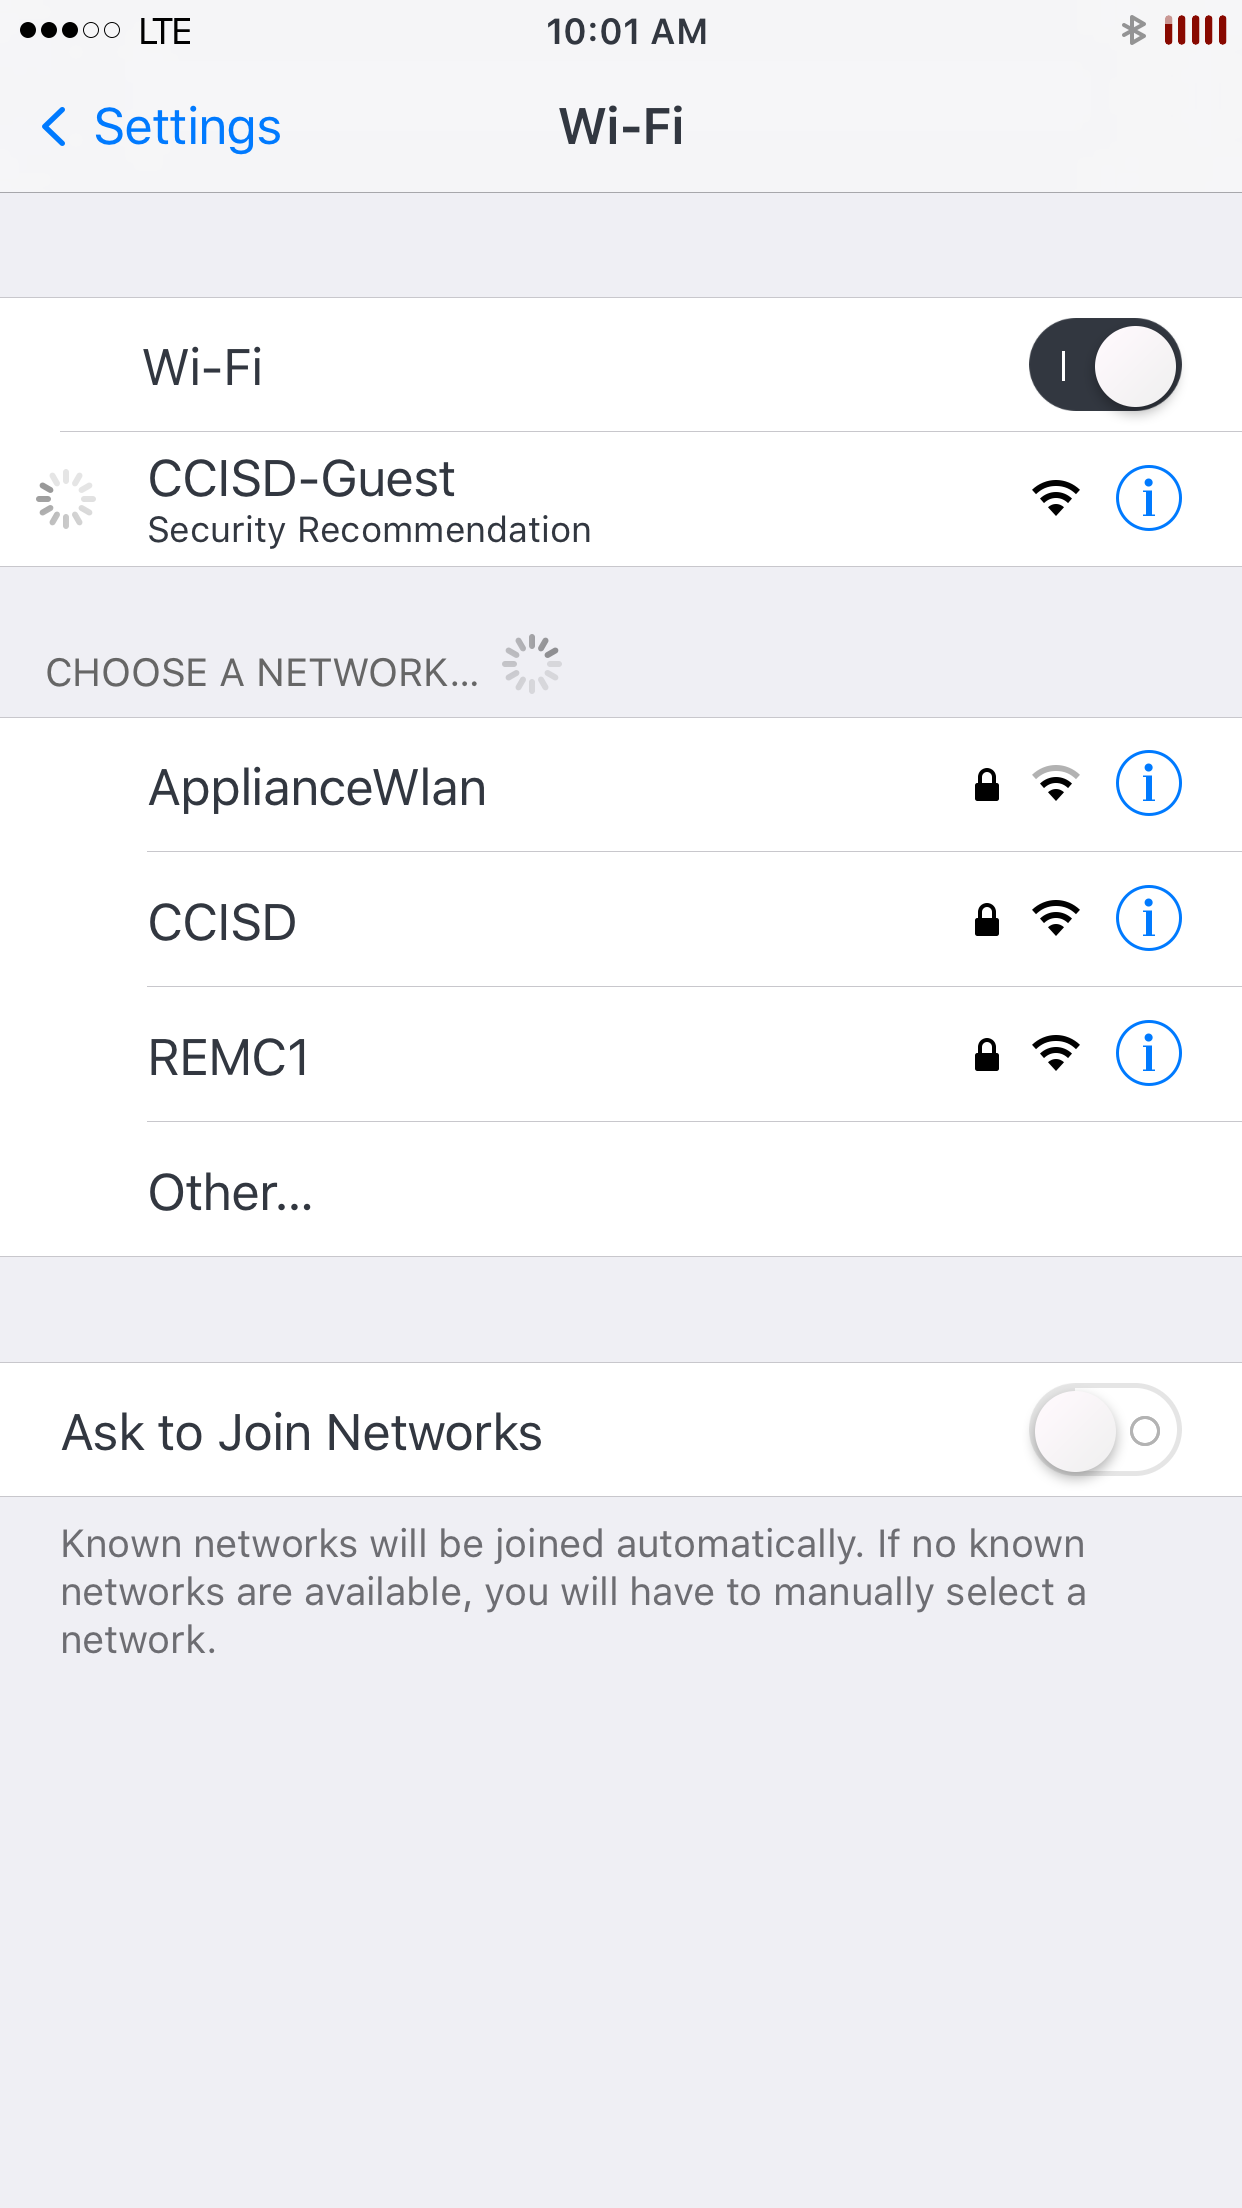
Open the Settings app and go to the Wi-Fi menu
- Tap on the CCISD-Guest Wi-Fi network you wish to join
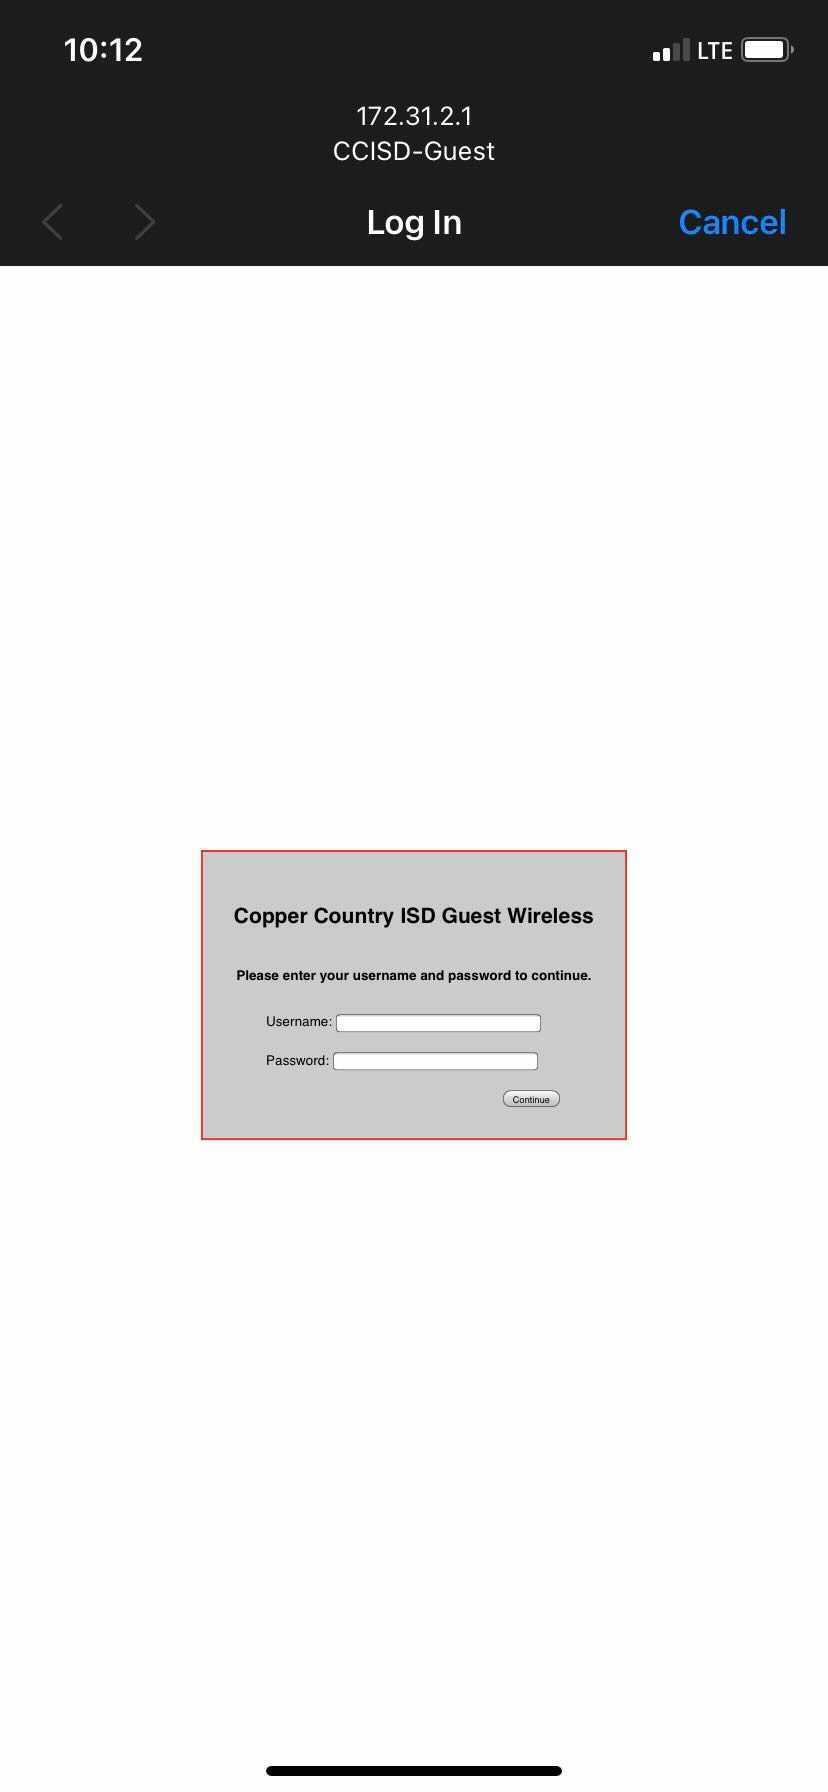
- After a few seconds a webpage should pop up, prompting you for a Username and Password
- The Username and password should both have been provided to you, by the person who issued the guest access
- Once the voucher code is entered and submitted successfully the window will show the text Success, then click the Done button to finish
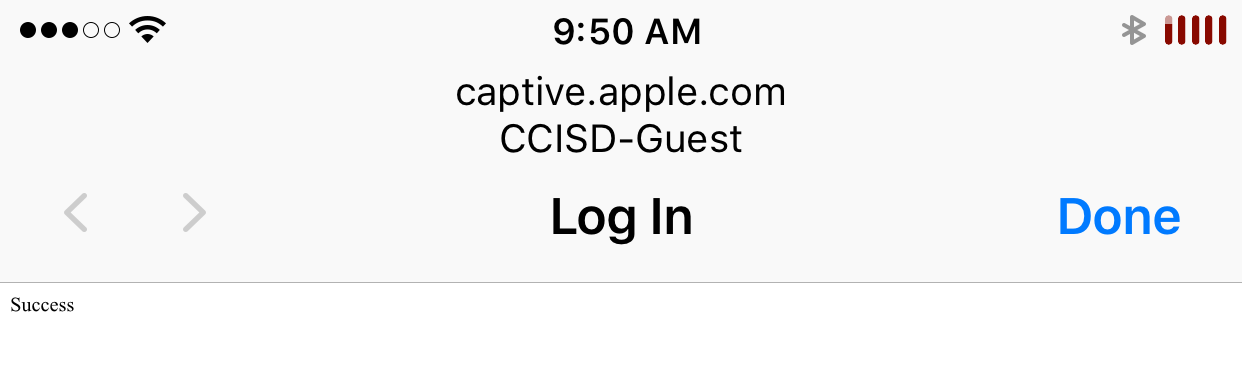
- You are now online
Android
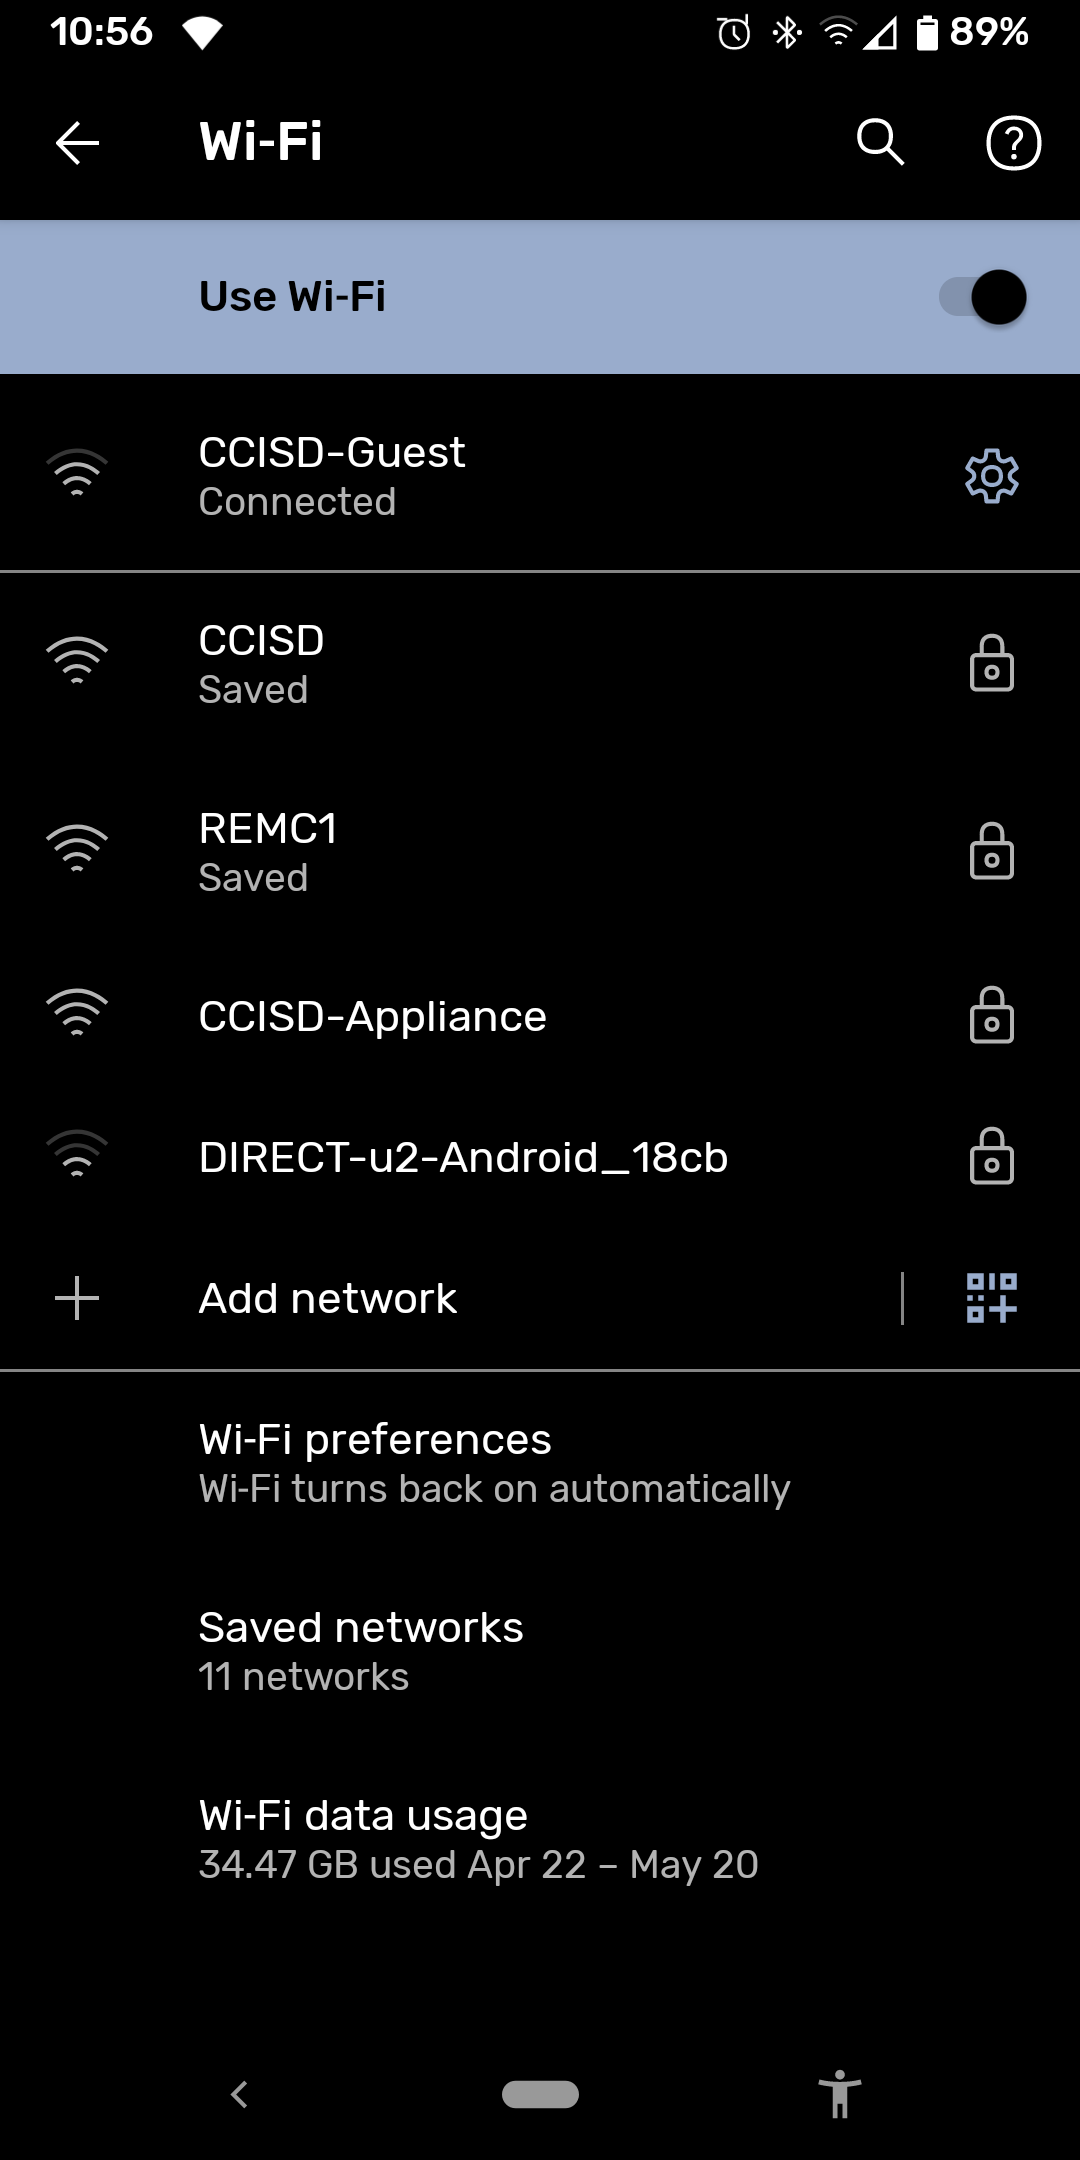
- Open the Settings app and go to the Wi-Fi menu
- Tap on the CCISD-Guest Wi-Fi network you wish to join
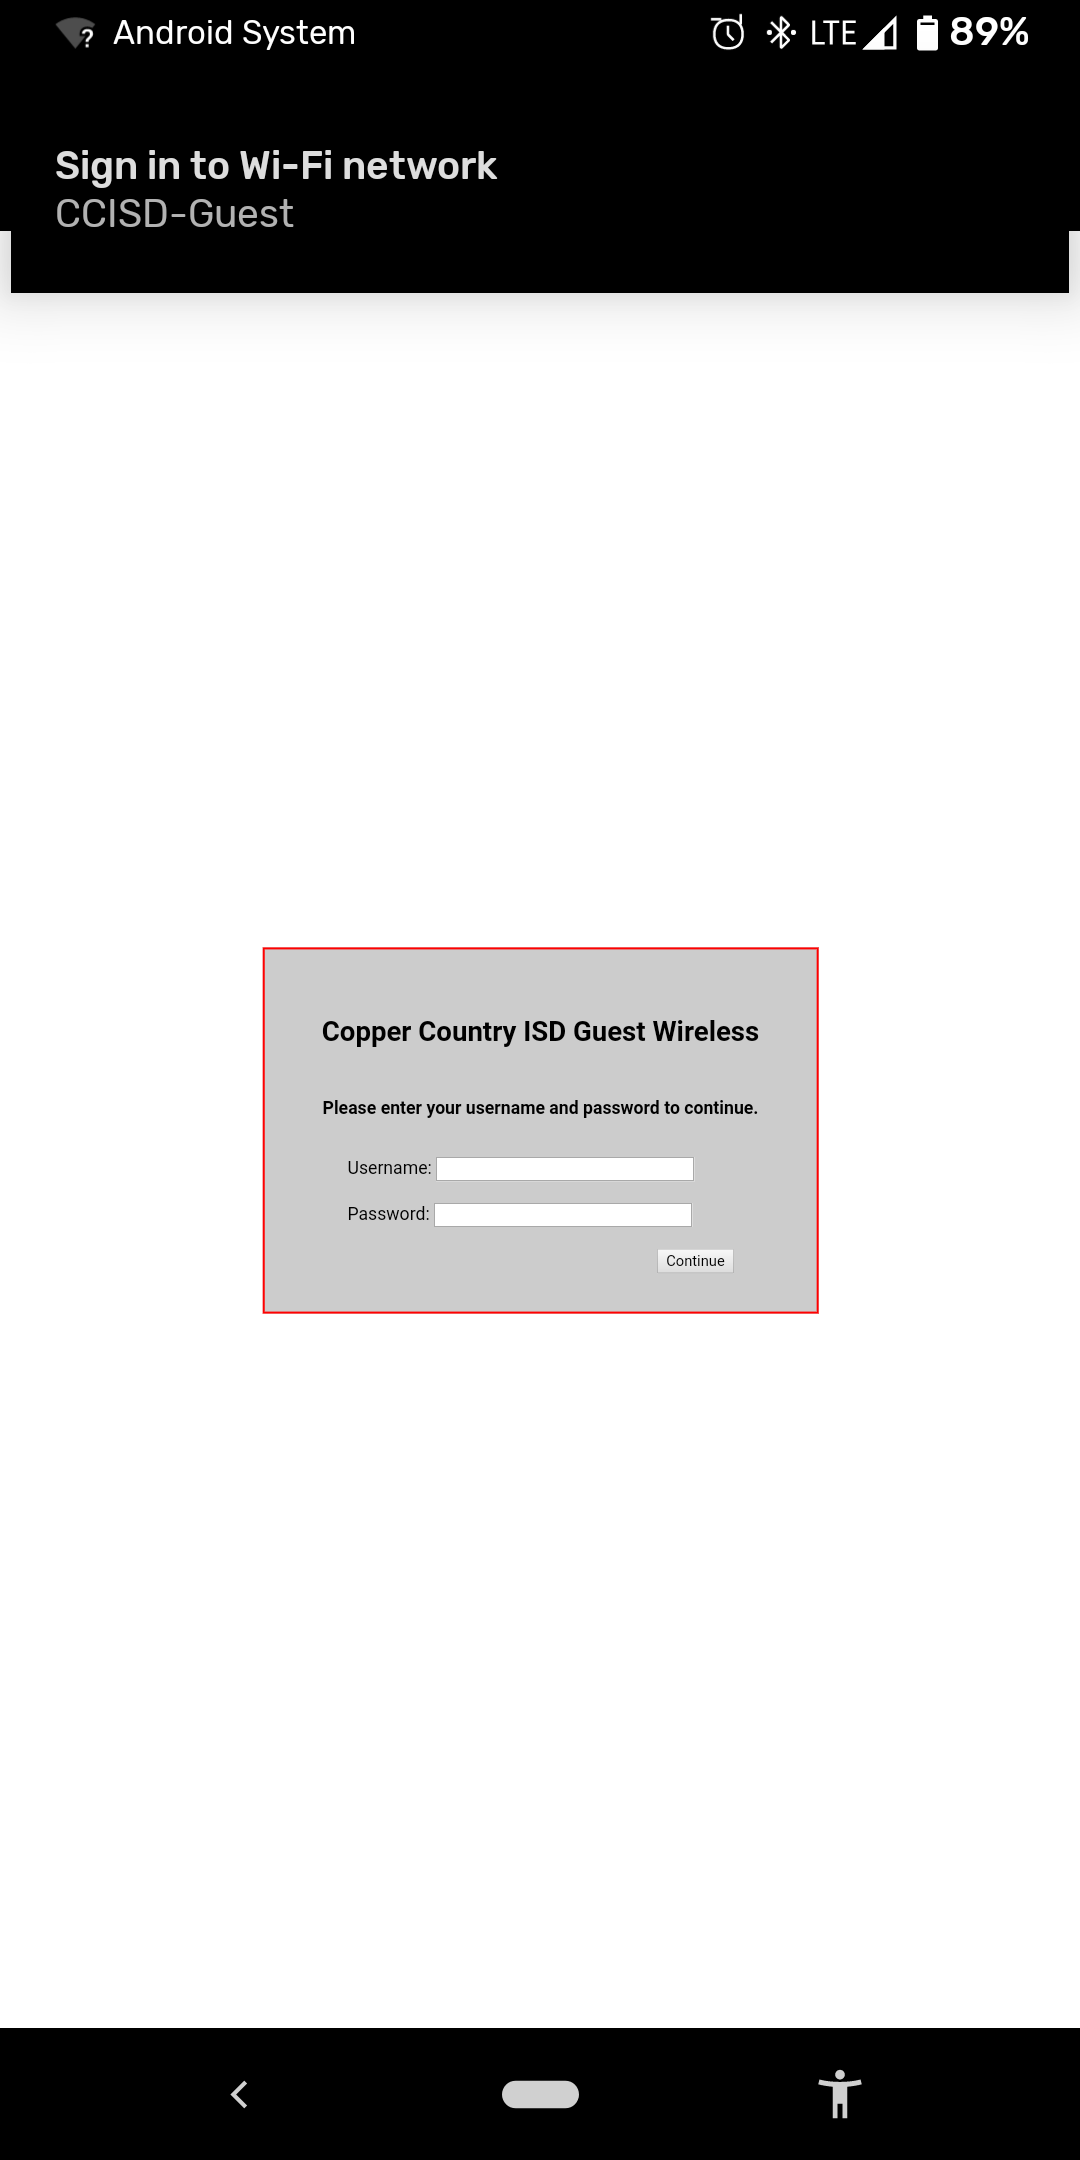
- After a few seconds a browser window should pop up, prompting you for a Username and Password
- The Username and password should both have been provided to you, by the person who issued the guest access
- You are now Online
ChromeOS
- Connect to the CCISD-Guest Wi-Fi network from the Wi-Fi menu
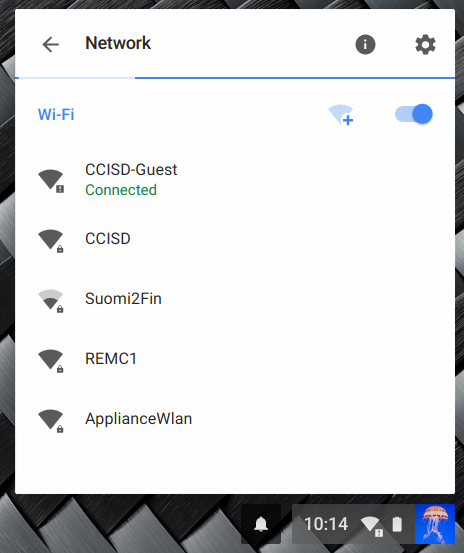
- Chrome may open a window automatically to enter in the voucher, otherwise open a new window and go to a site like google.com
- Enter in the Username and password and hit Continue
- The Username and password should both have been provided to you, by the person who issued the guest access

- You are now online