| Table of Contentstoc |
|---|
| Info |
|---|
| REMC1 staff: This page serves as a basic user guide. Most likely if you are configuring things you will need: |
...
| /wiki/spaces/AV/pages/14975187 since it contains administrative details. |
| Info |
|---|
Please note, there are no pins/codes/ect in the Bosch system. They have been antiquated. |
Glossary of Terms
- Point(s)
- A point is a grouping of sensors in one area of the building. If a point has a fault, something is tripping a sensor in that area.
- Area
- Collection of points. This is usually a grouping inside a building such as a floor.
- All On
- This refers to the armed points. All on means every point is enabled.
- Part on
- This refers to the armed points. This enables most points but some special designated points are still disarmed.
Arming the System
To arm the system please do the following:
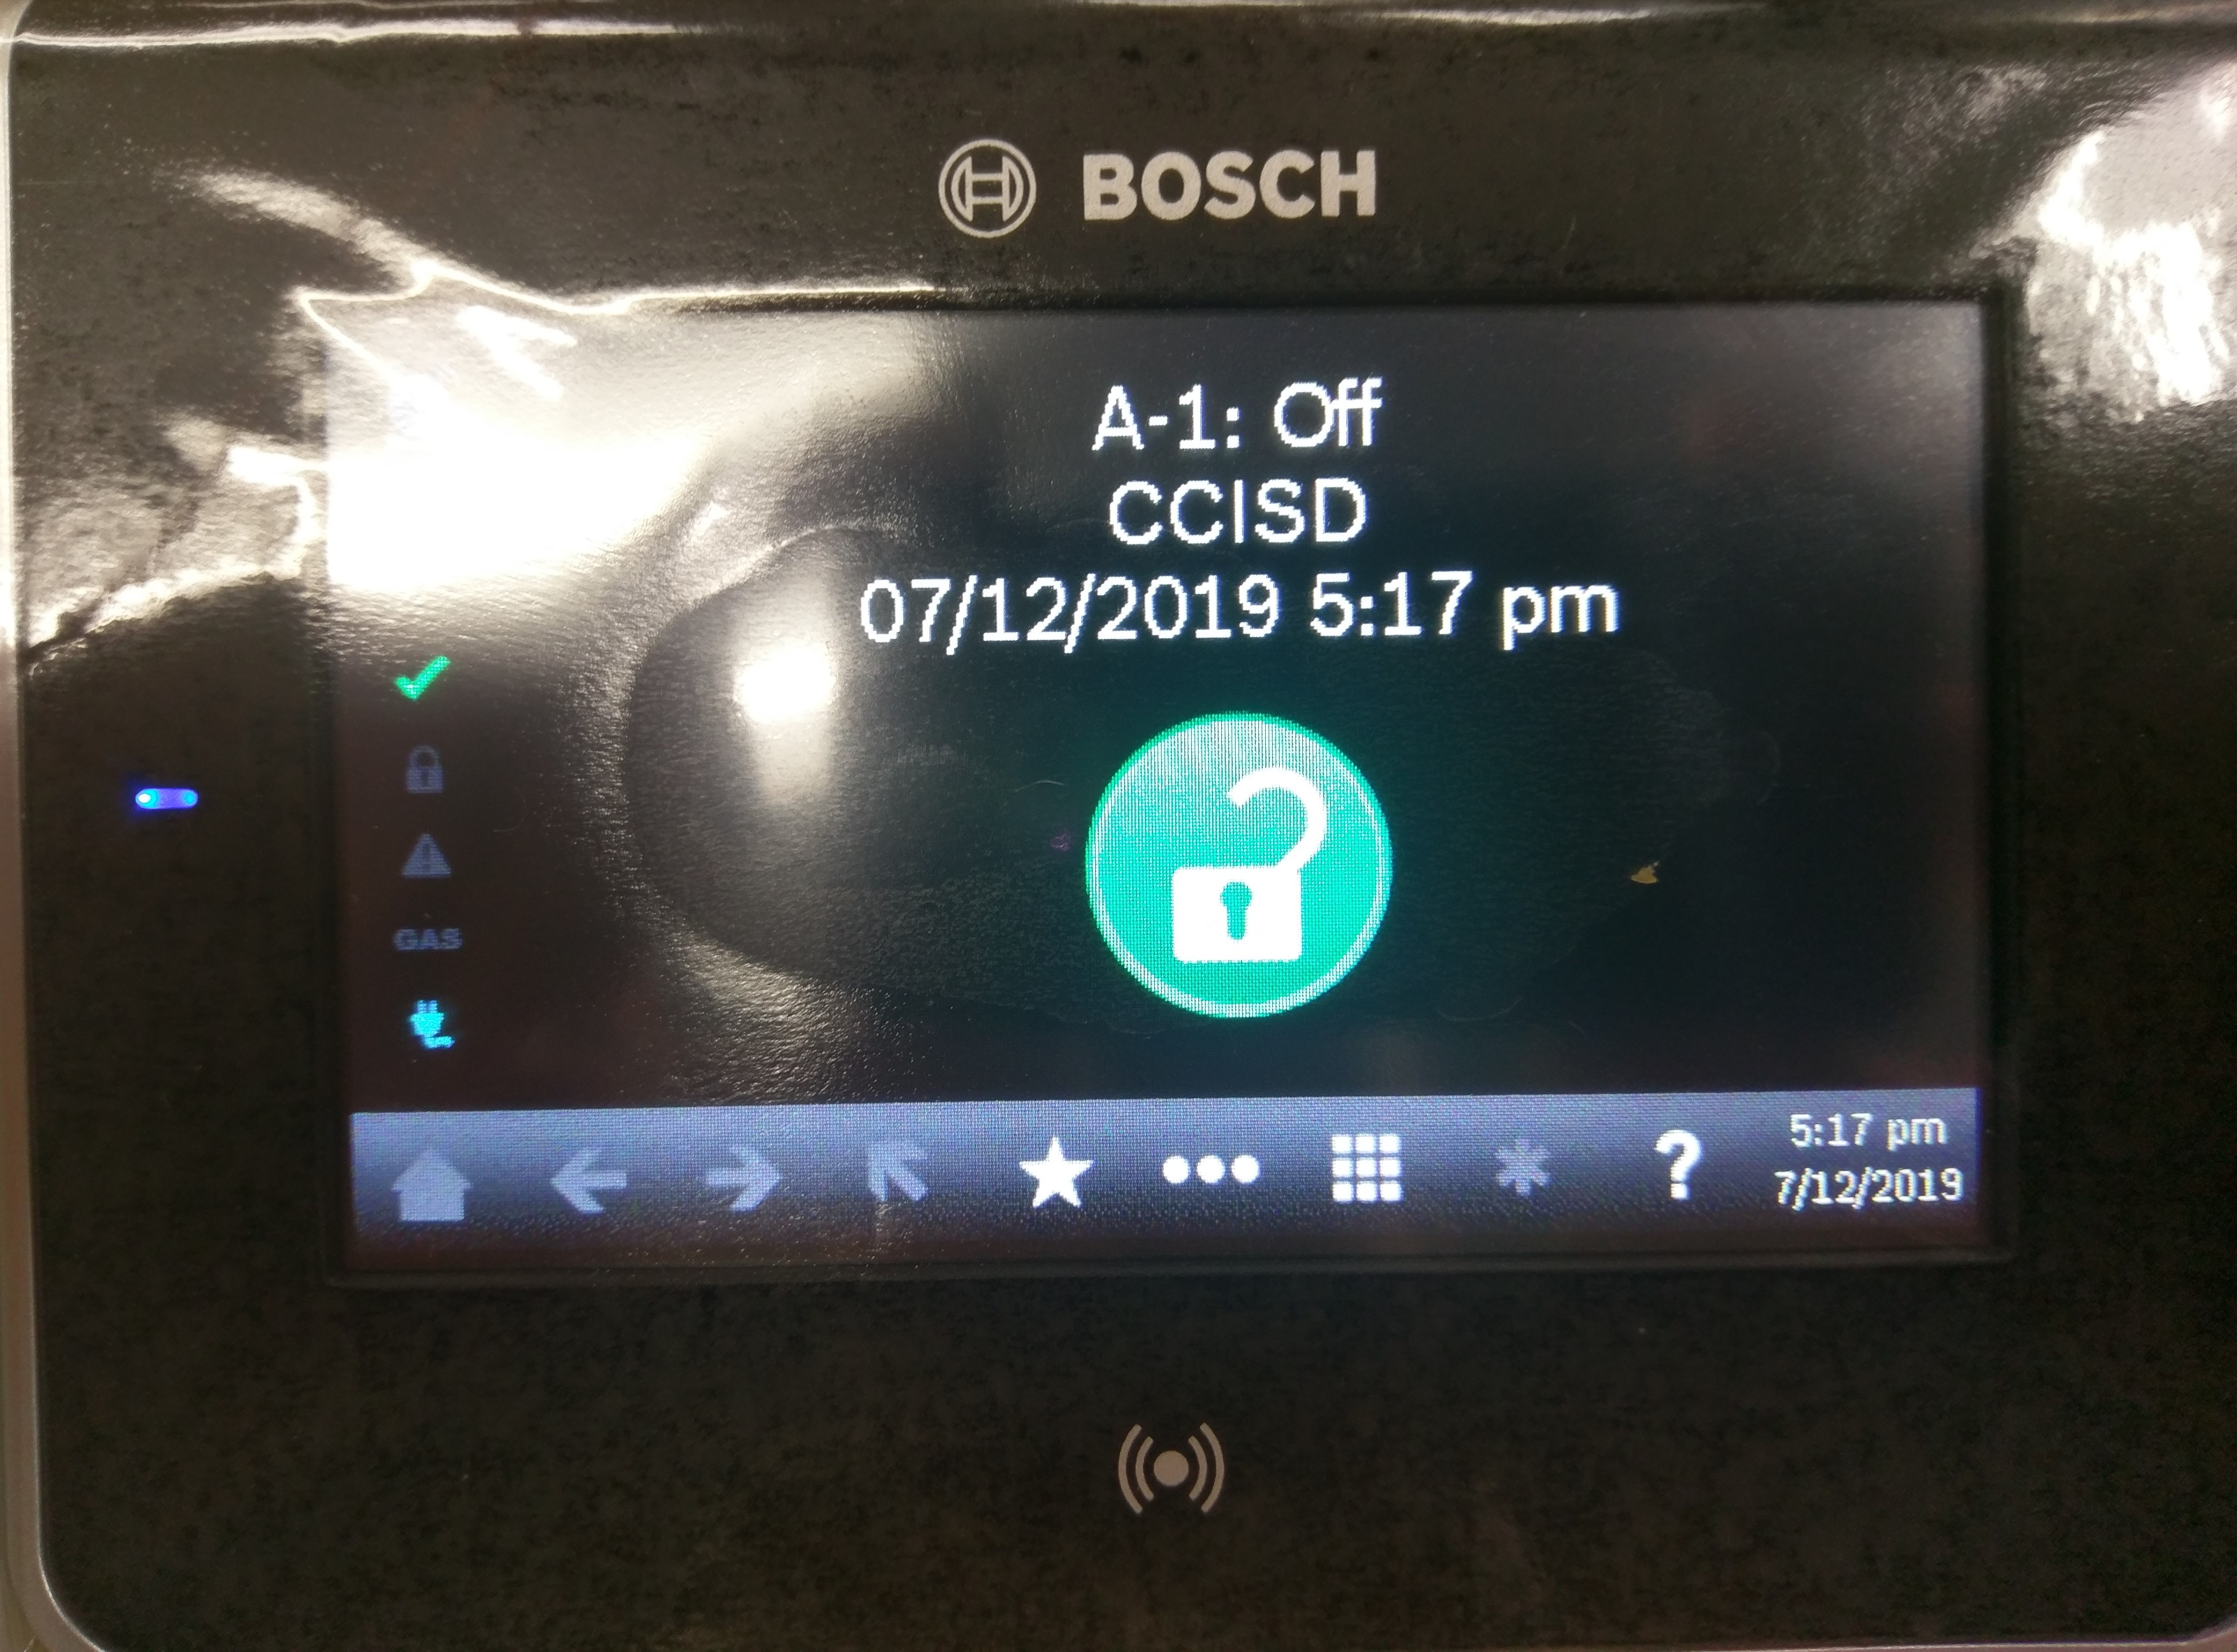
- Verify the lock logo is green. This indicates the system is ready to be armed.
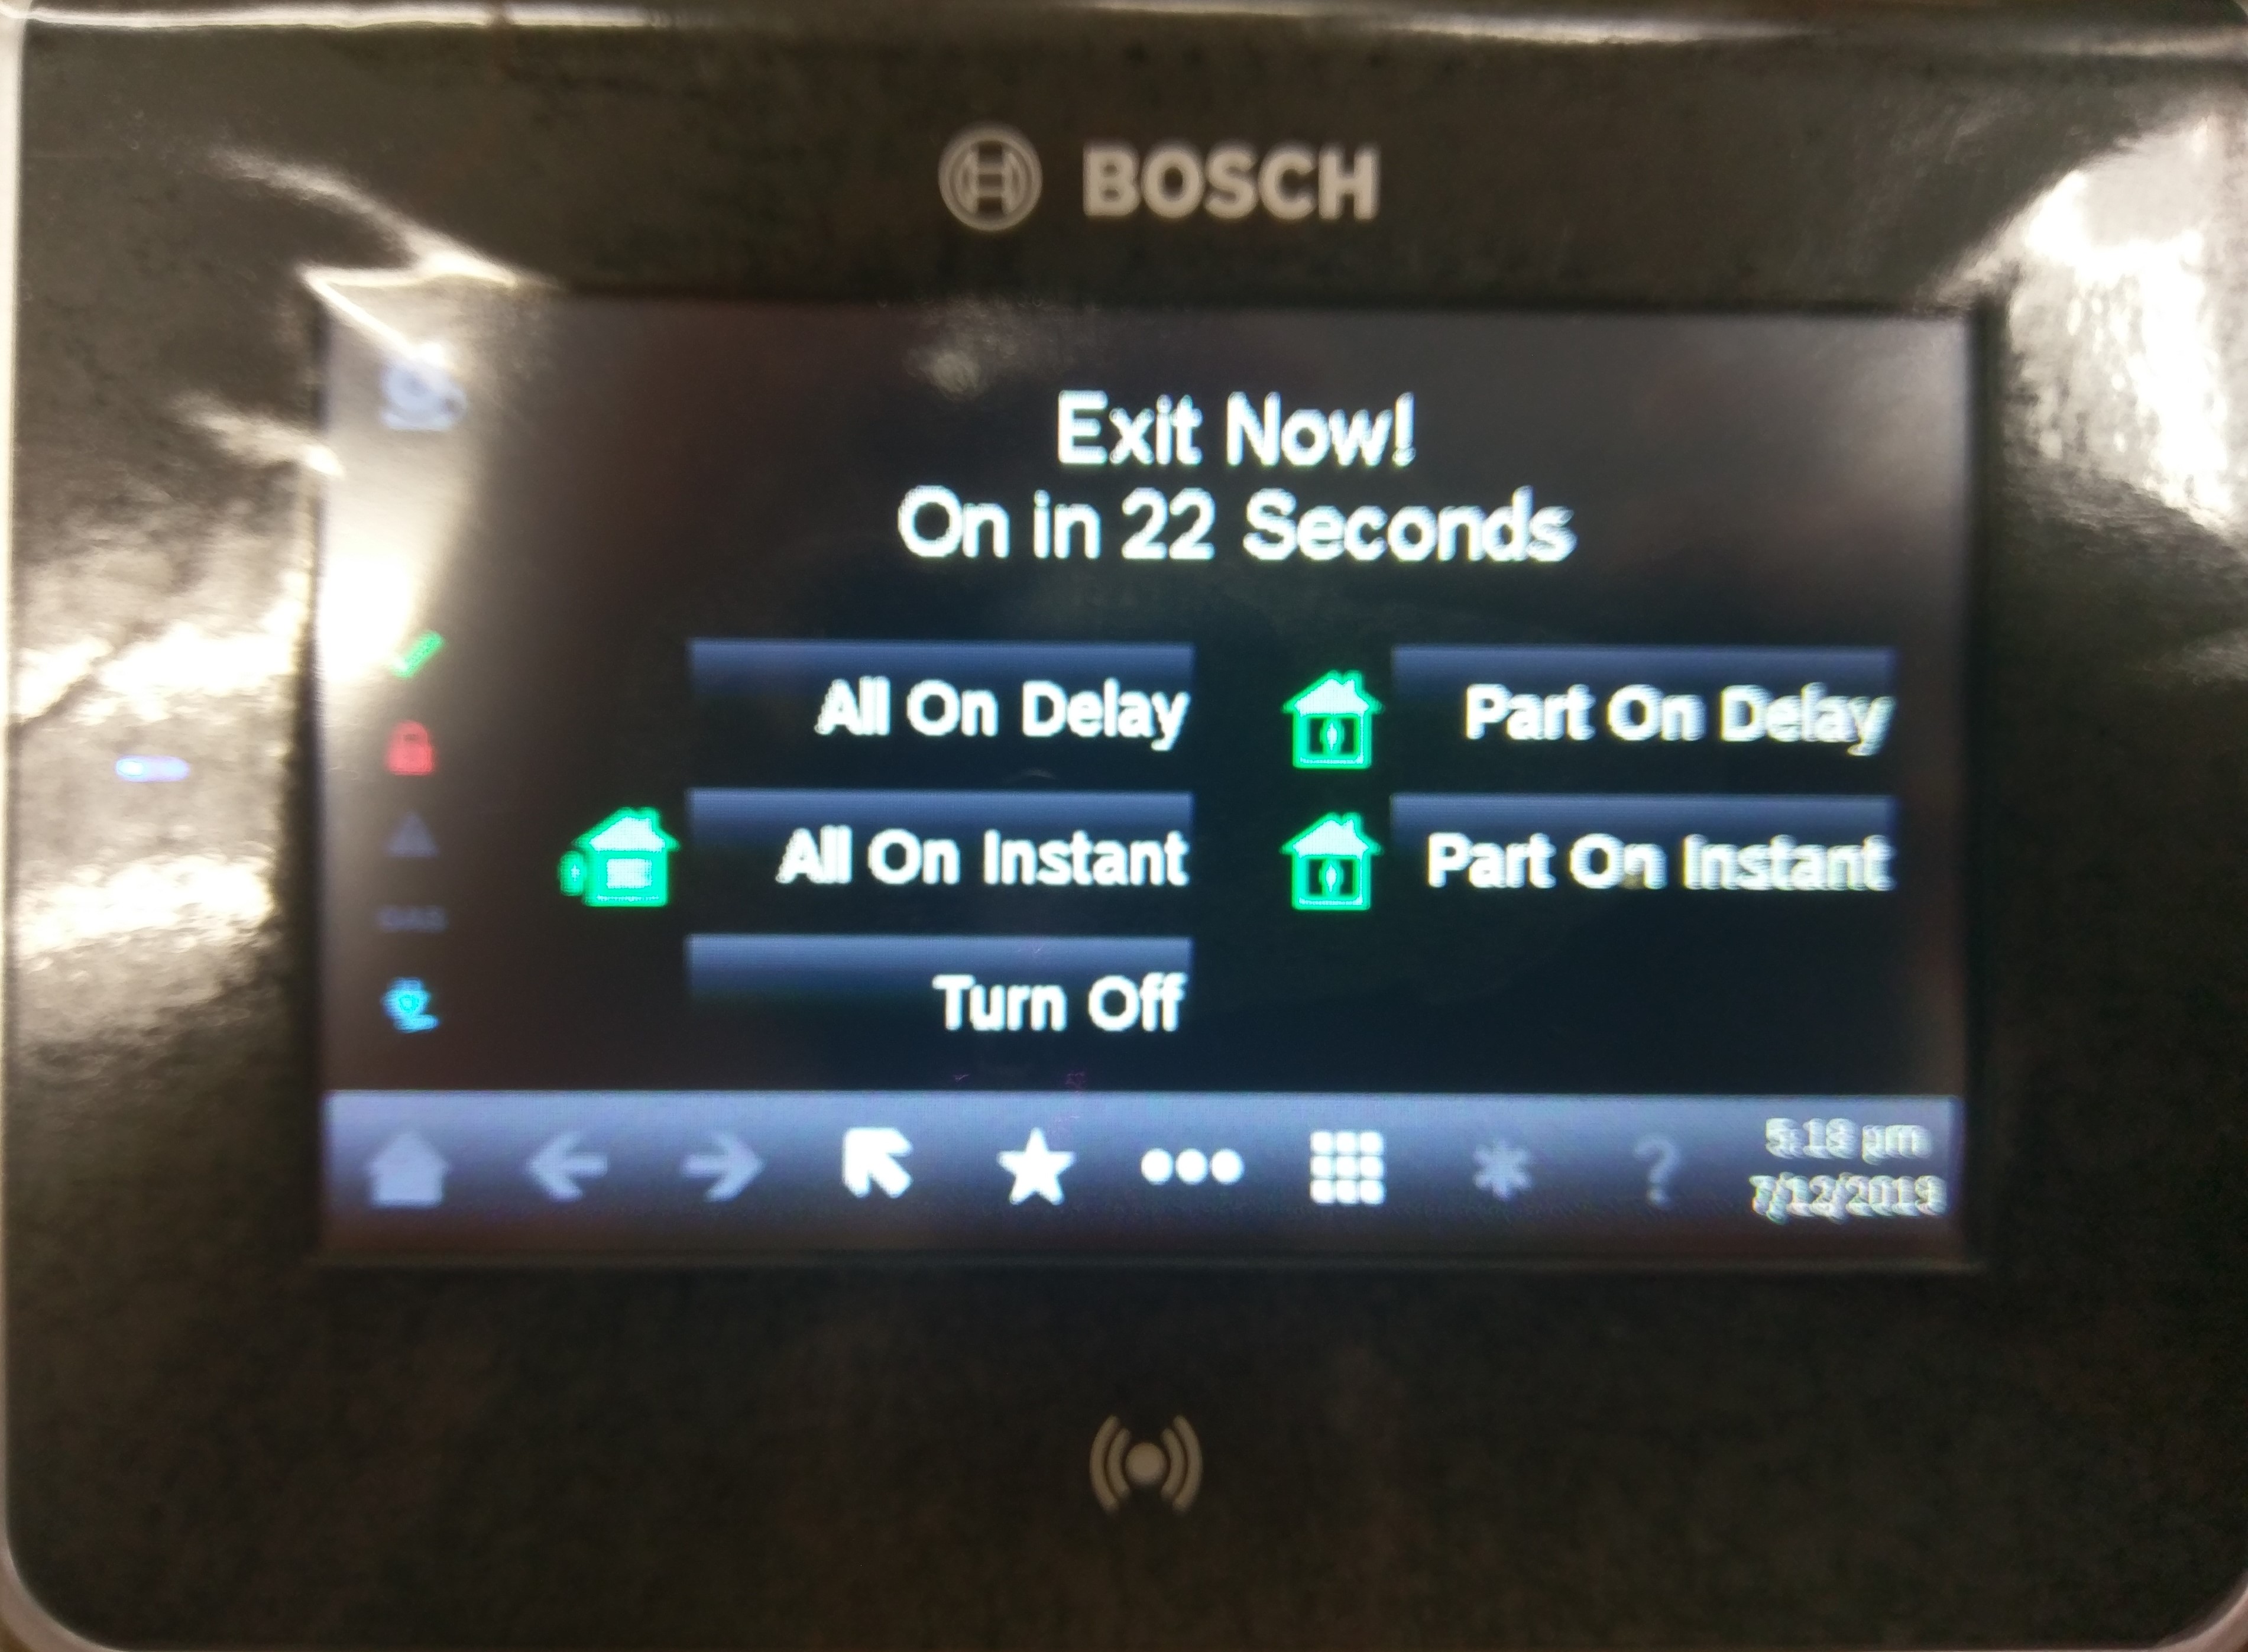
- Press the ★ icon
- Select "Arm with delay"
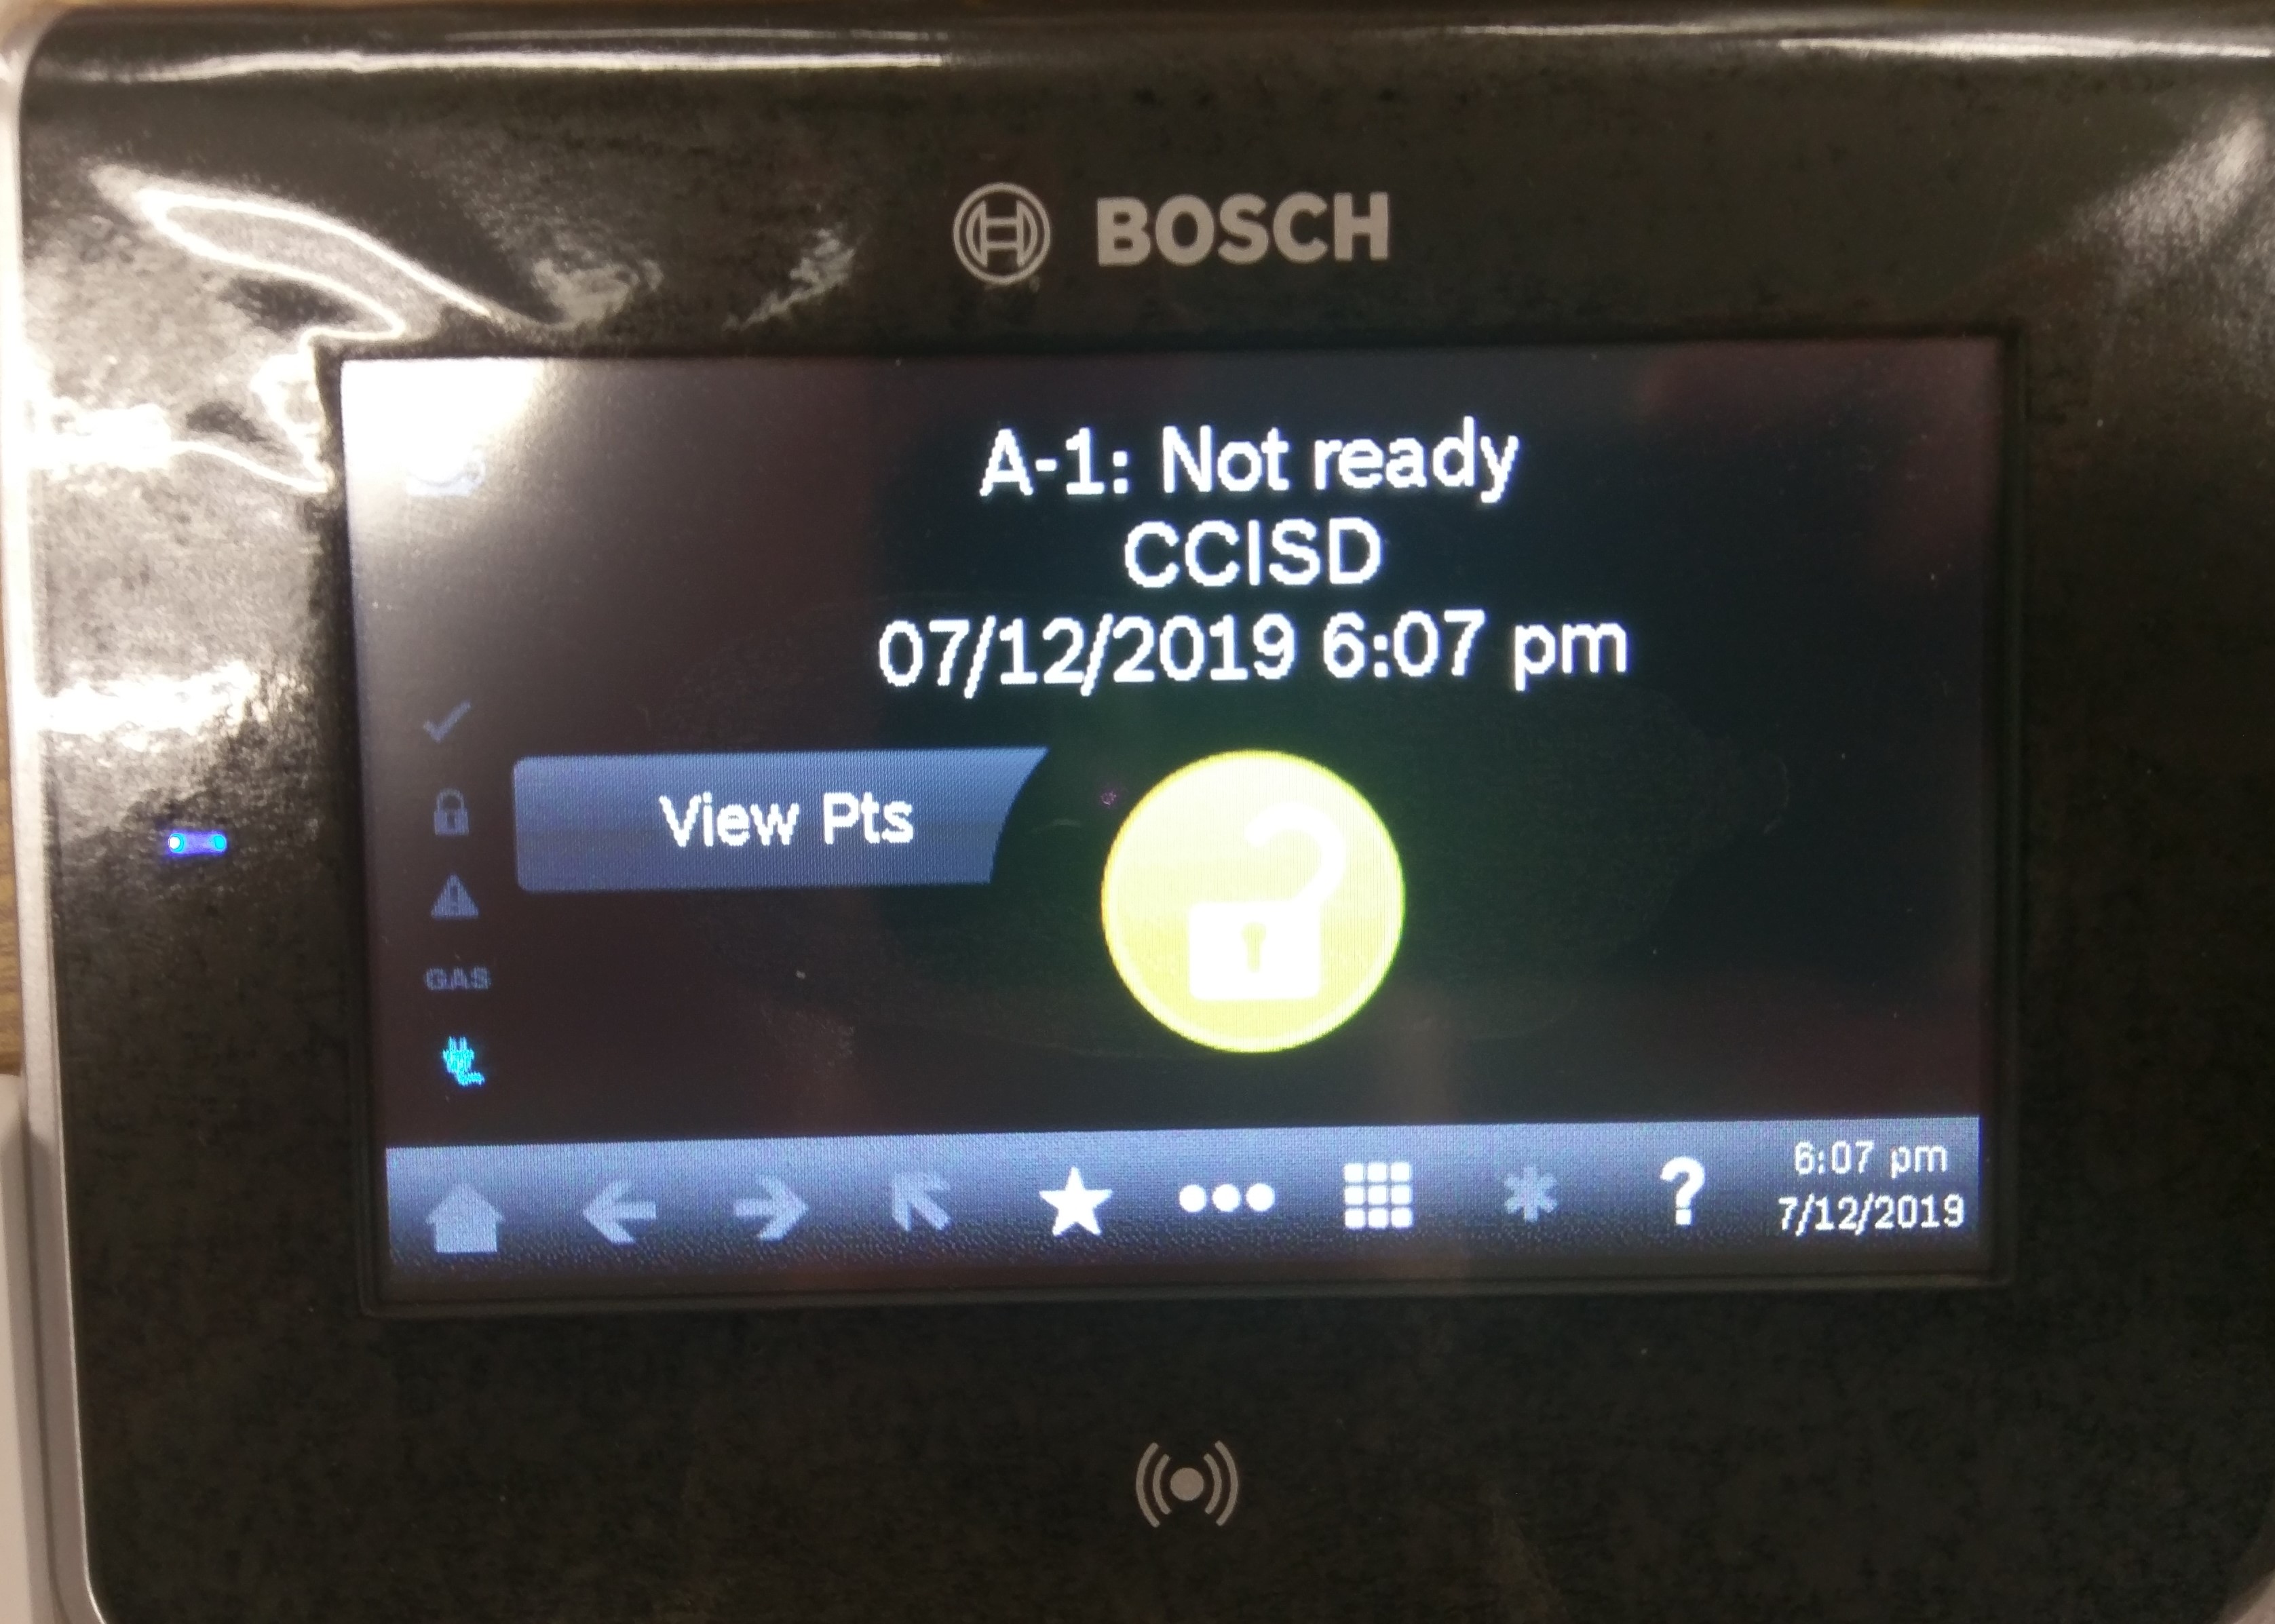
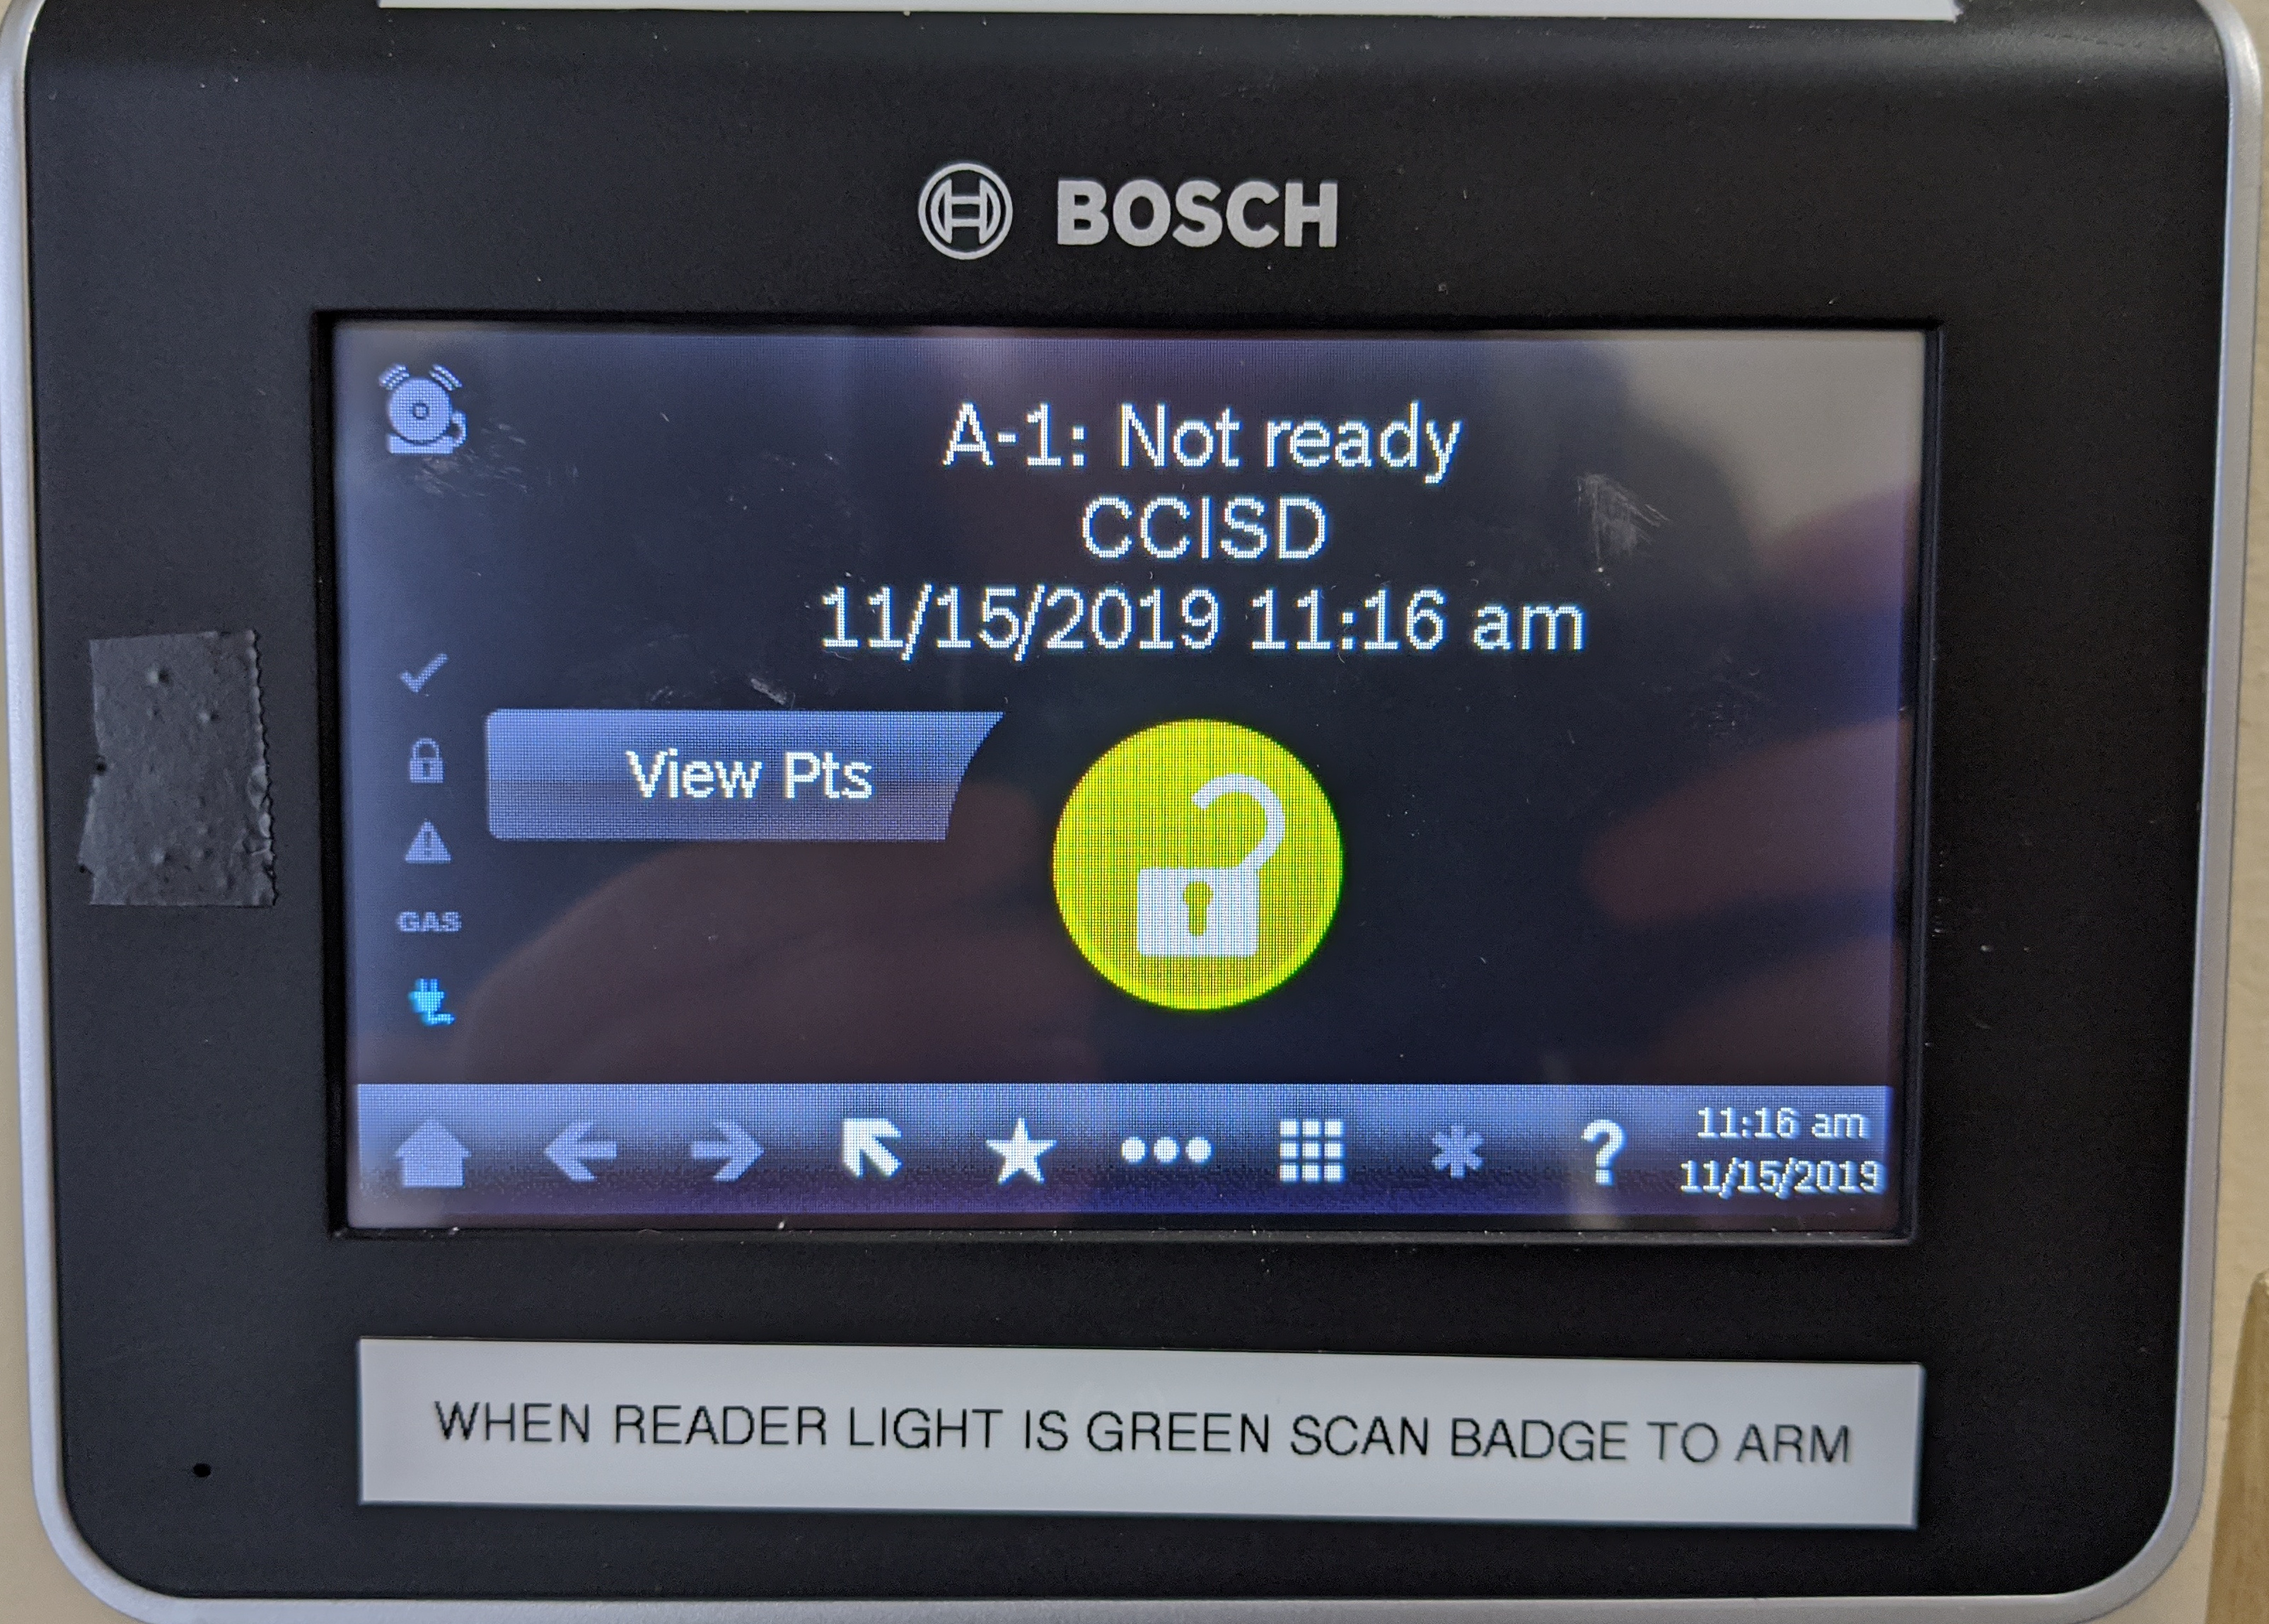
- If the icon is yellow and the system isn't ready please see "Alarm Not Ready to Arm" below.
- Scan your badge on the reader.
- When the timer starts, exit the building.
Disarming the Alarm
Alarm will disarm automatically when an exterior door is opened using the card system. Do not scan your badge on the alarm system.
Alarm Not Ready to Arm
If the alarm will not enter a ready state, follow the steps below:
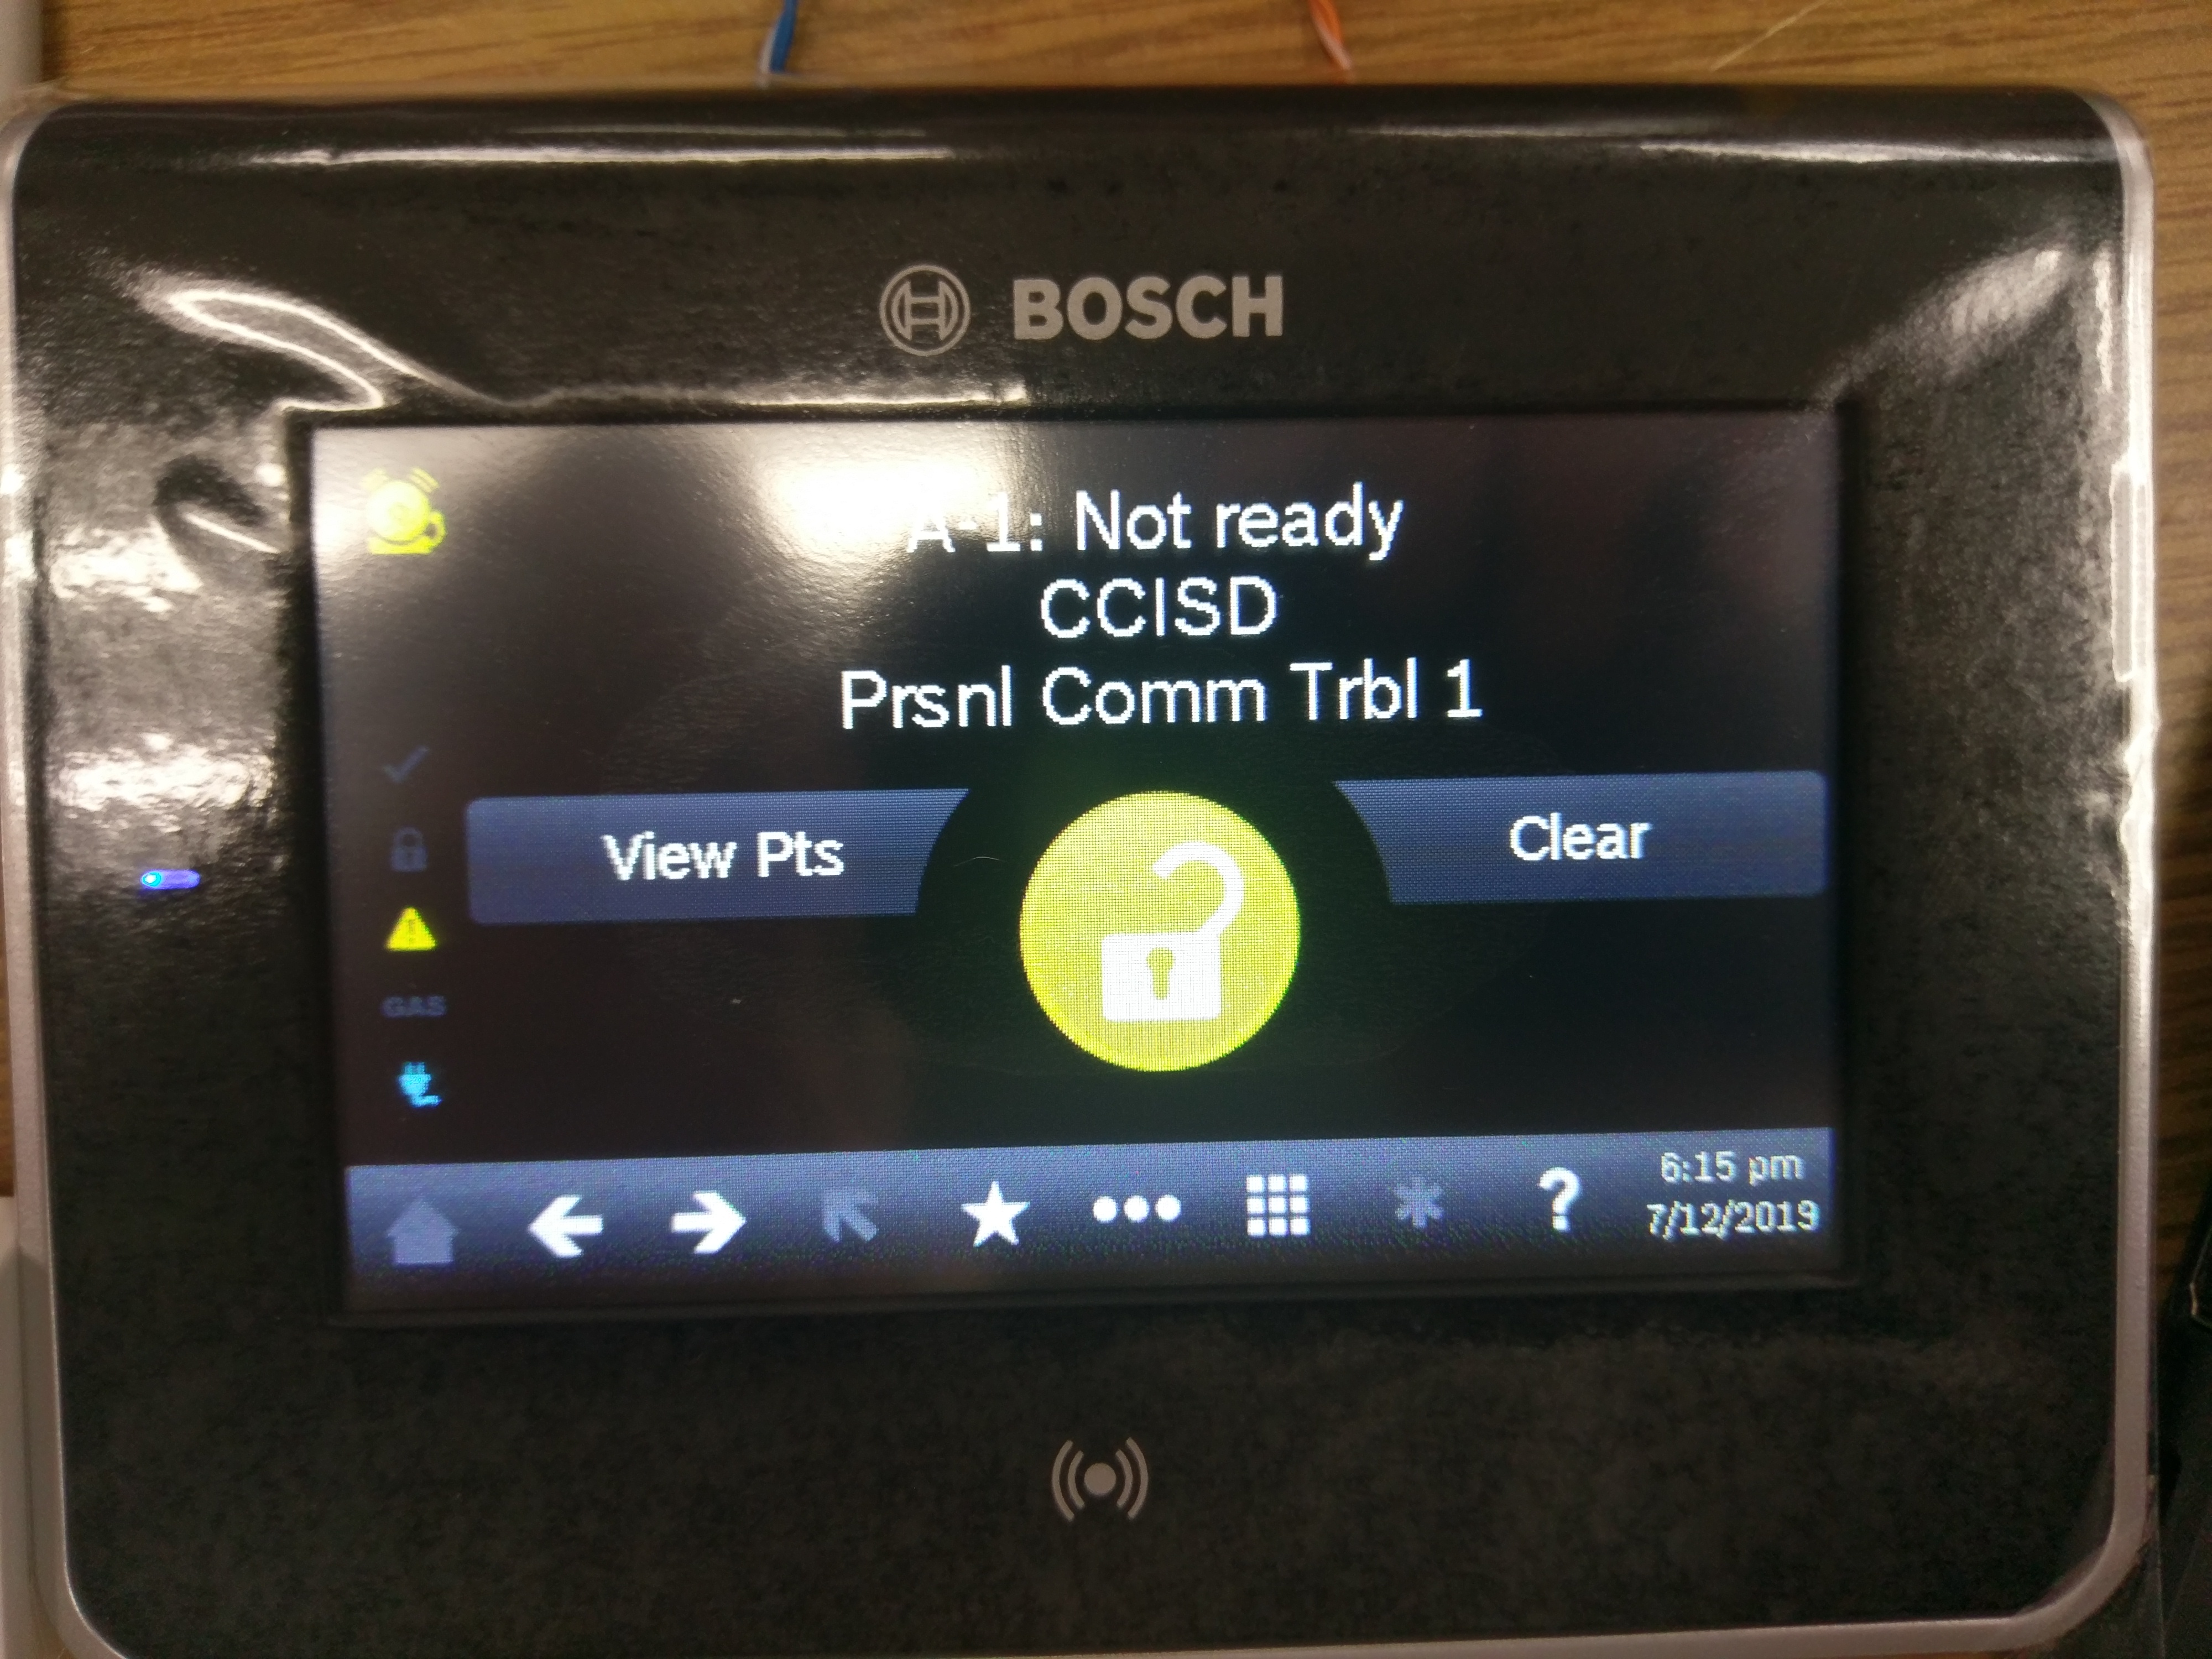
- To view the issue, select "View Pts". This stands for view points.
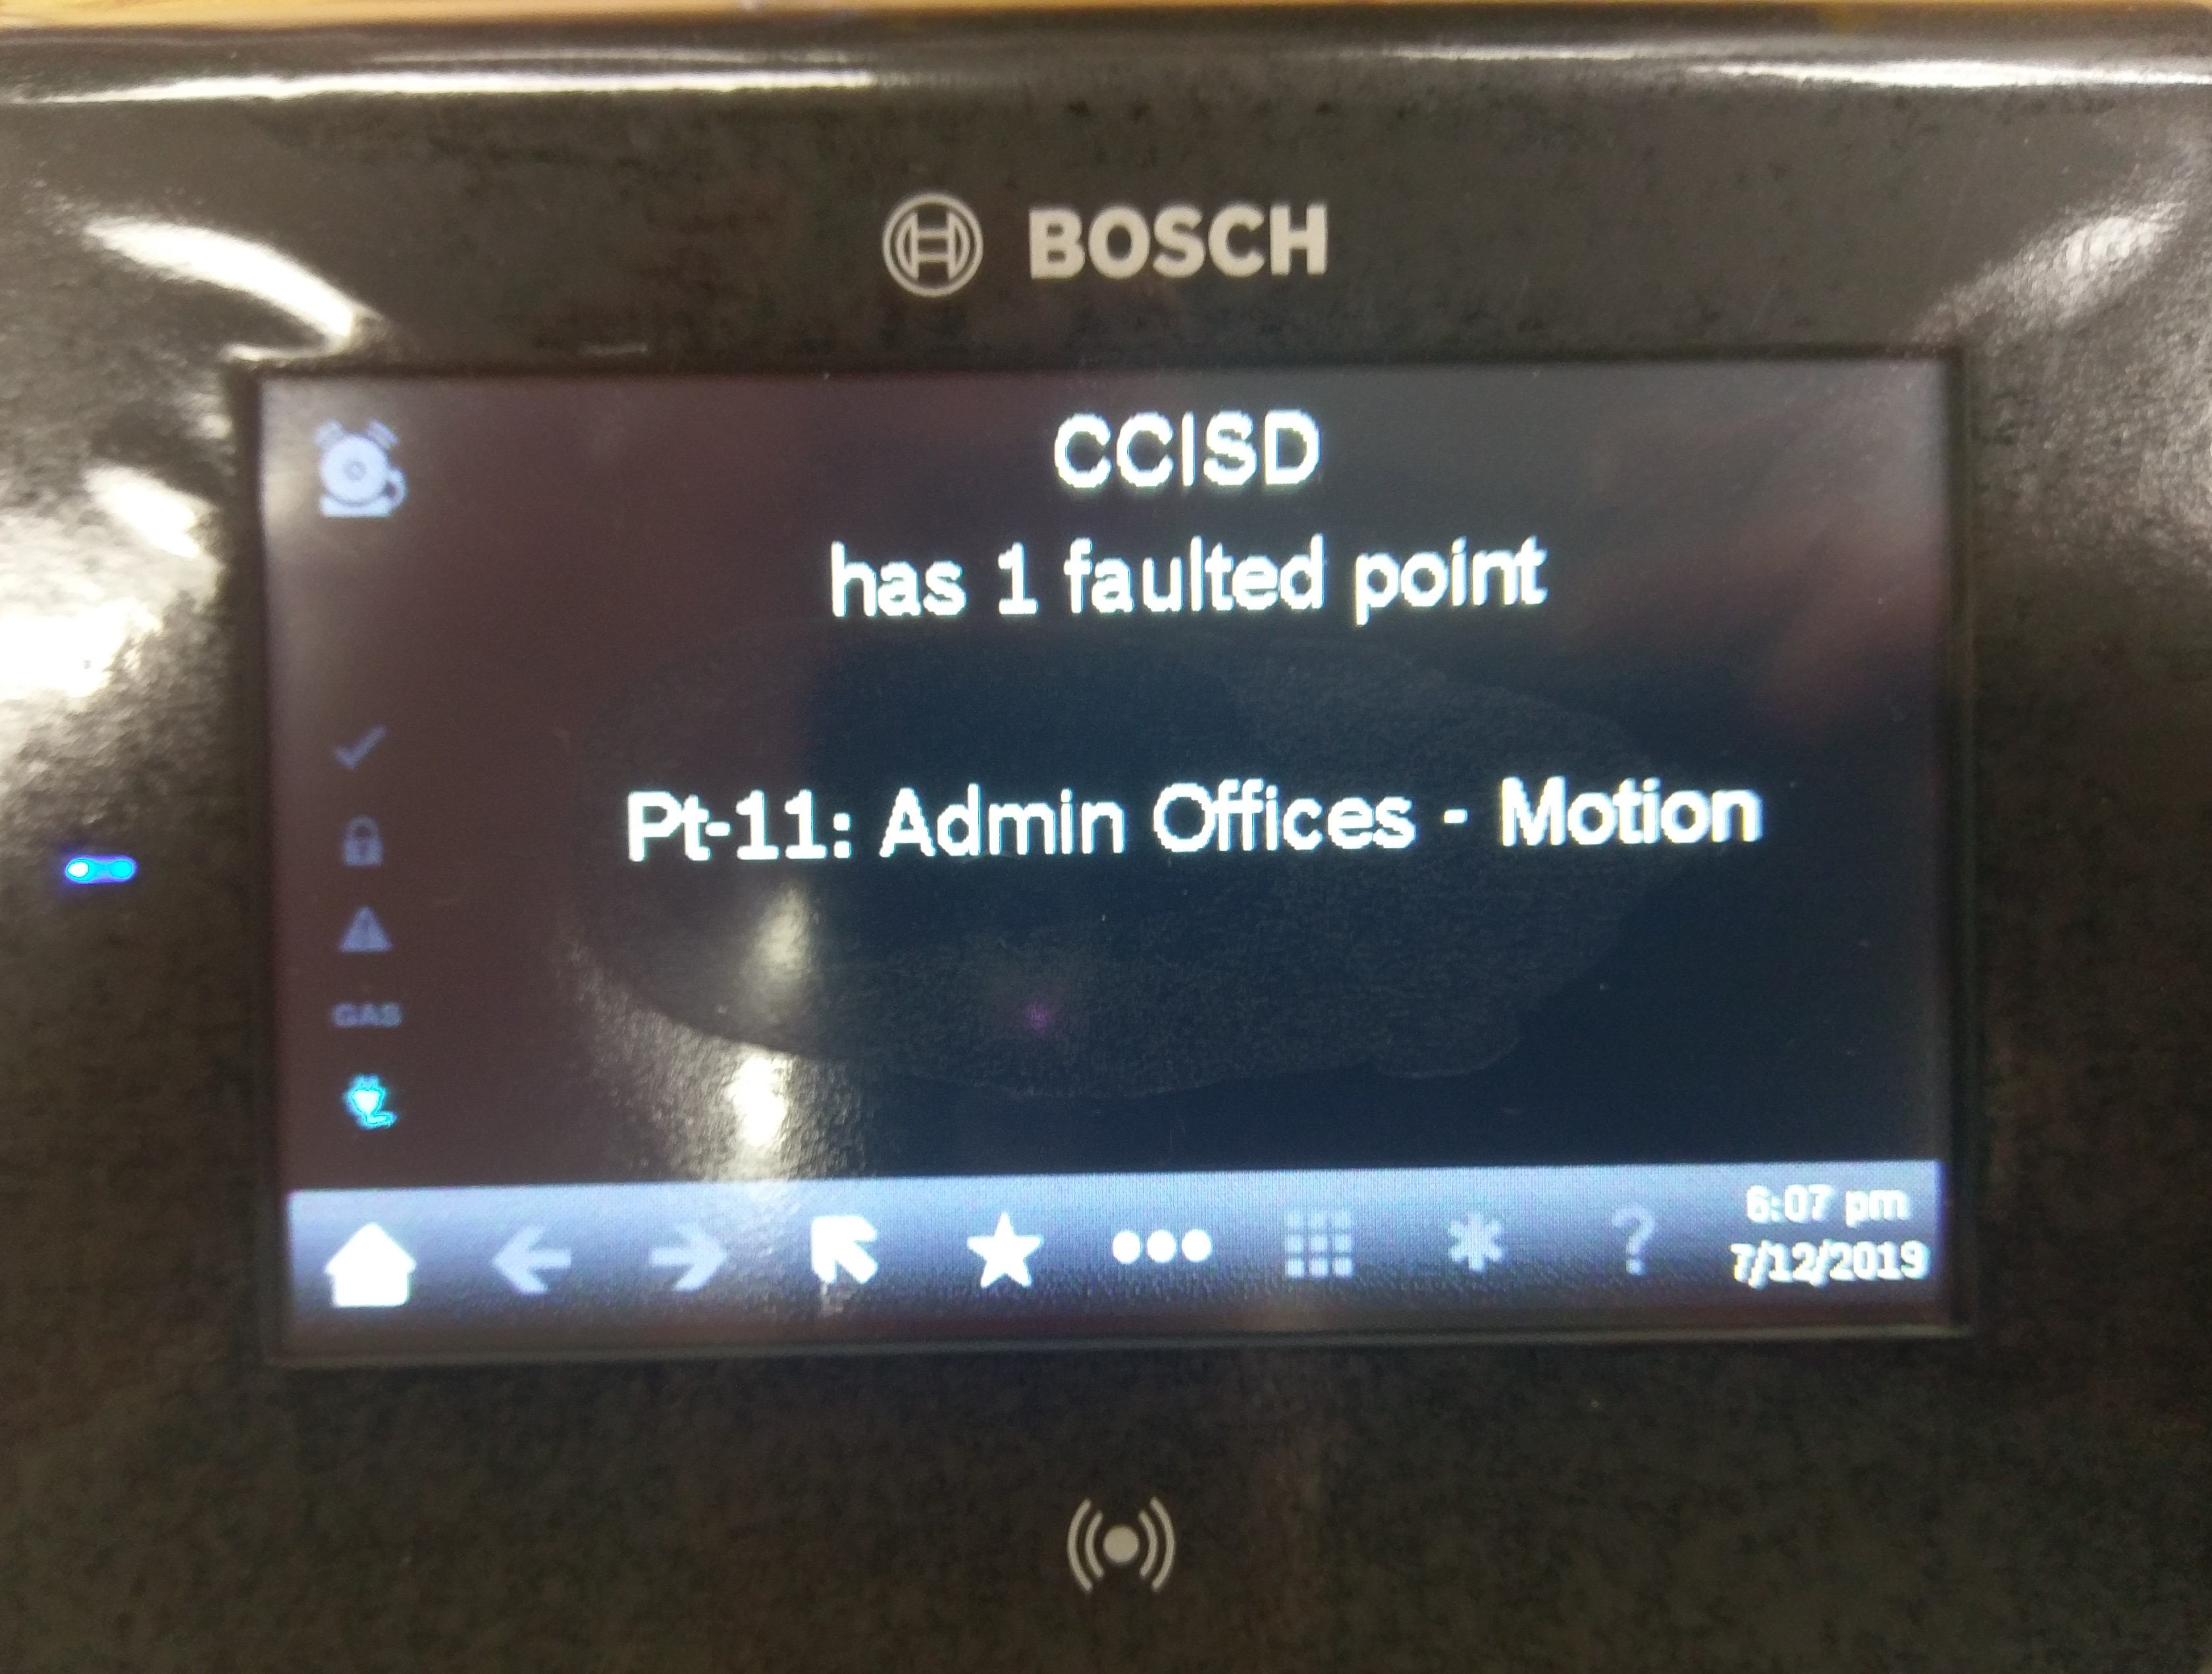
- You should now see a list of faulted points. Scroll through them with the left and right arrows.
- Go to the area in the building with the issue listed and resolve the fault. Once cleared the screen should look like this:
- You may now arm the alarm.
Disarming the Alarm
...
- .
...
Resetting Alarm After
...
It Goes Off
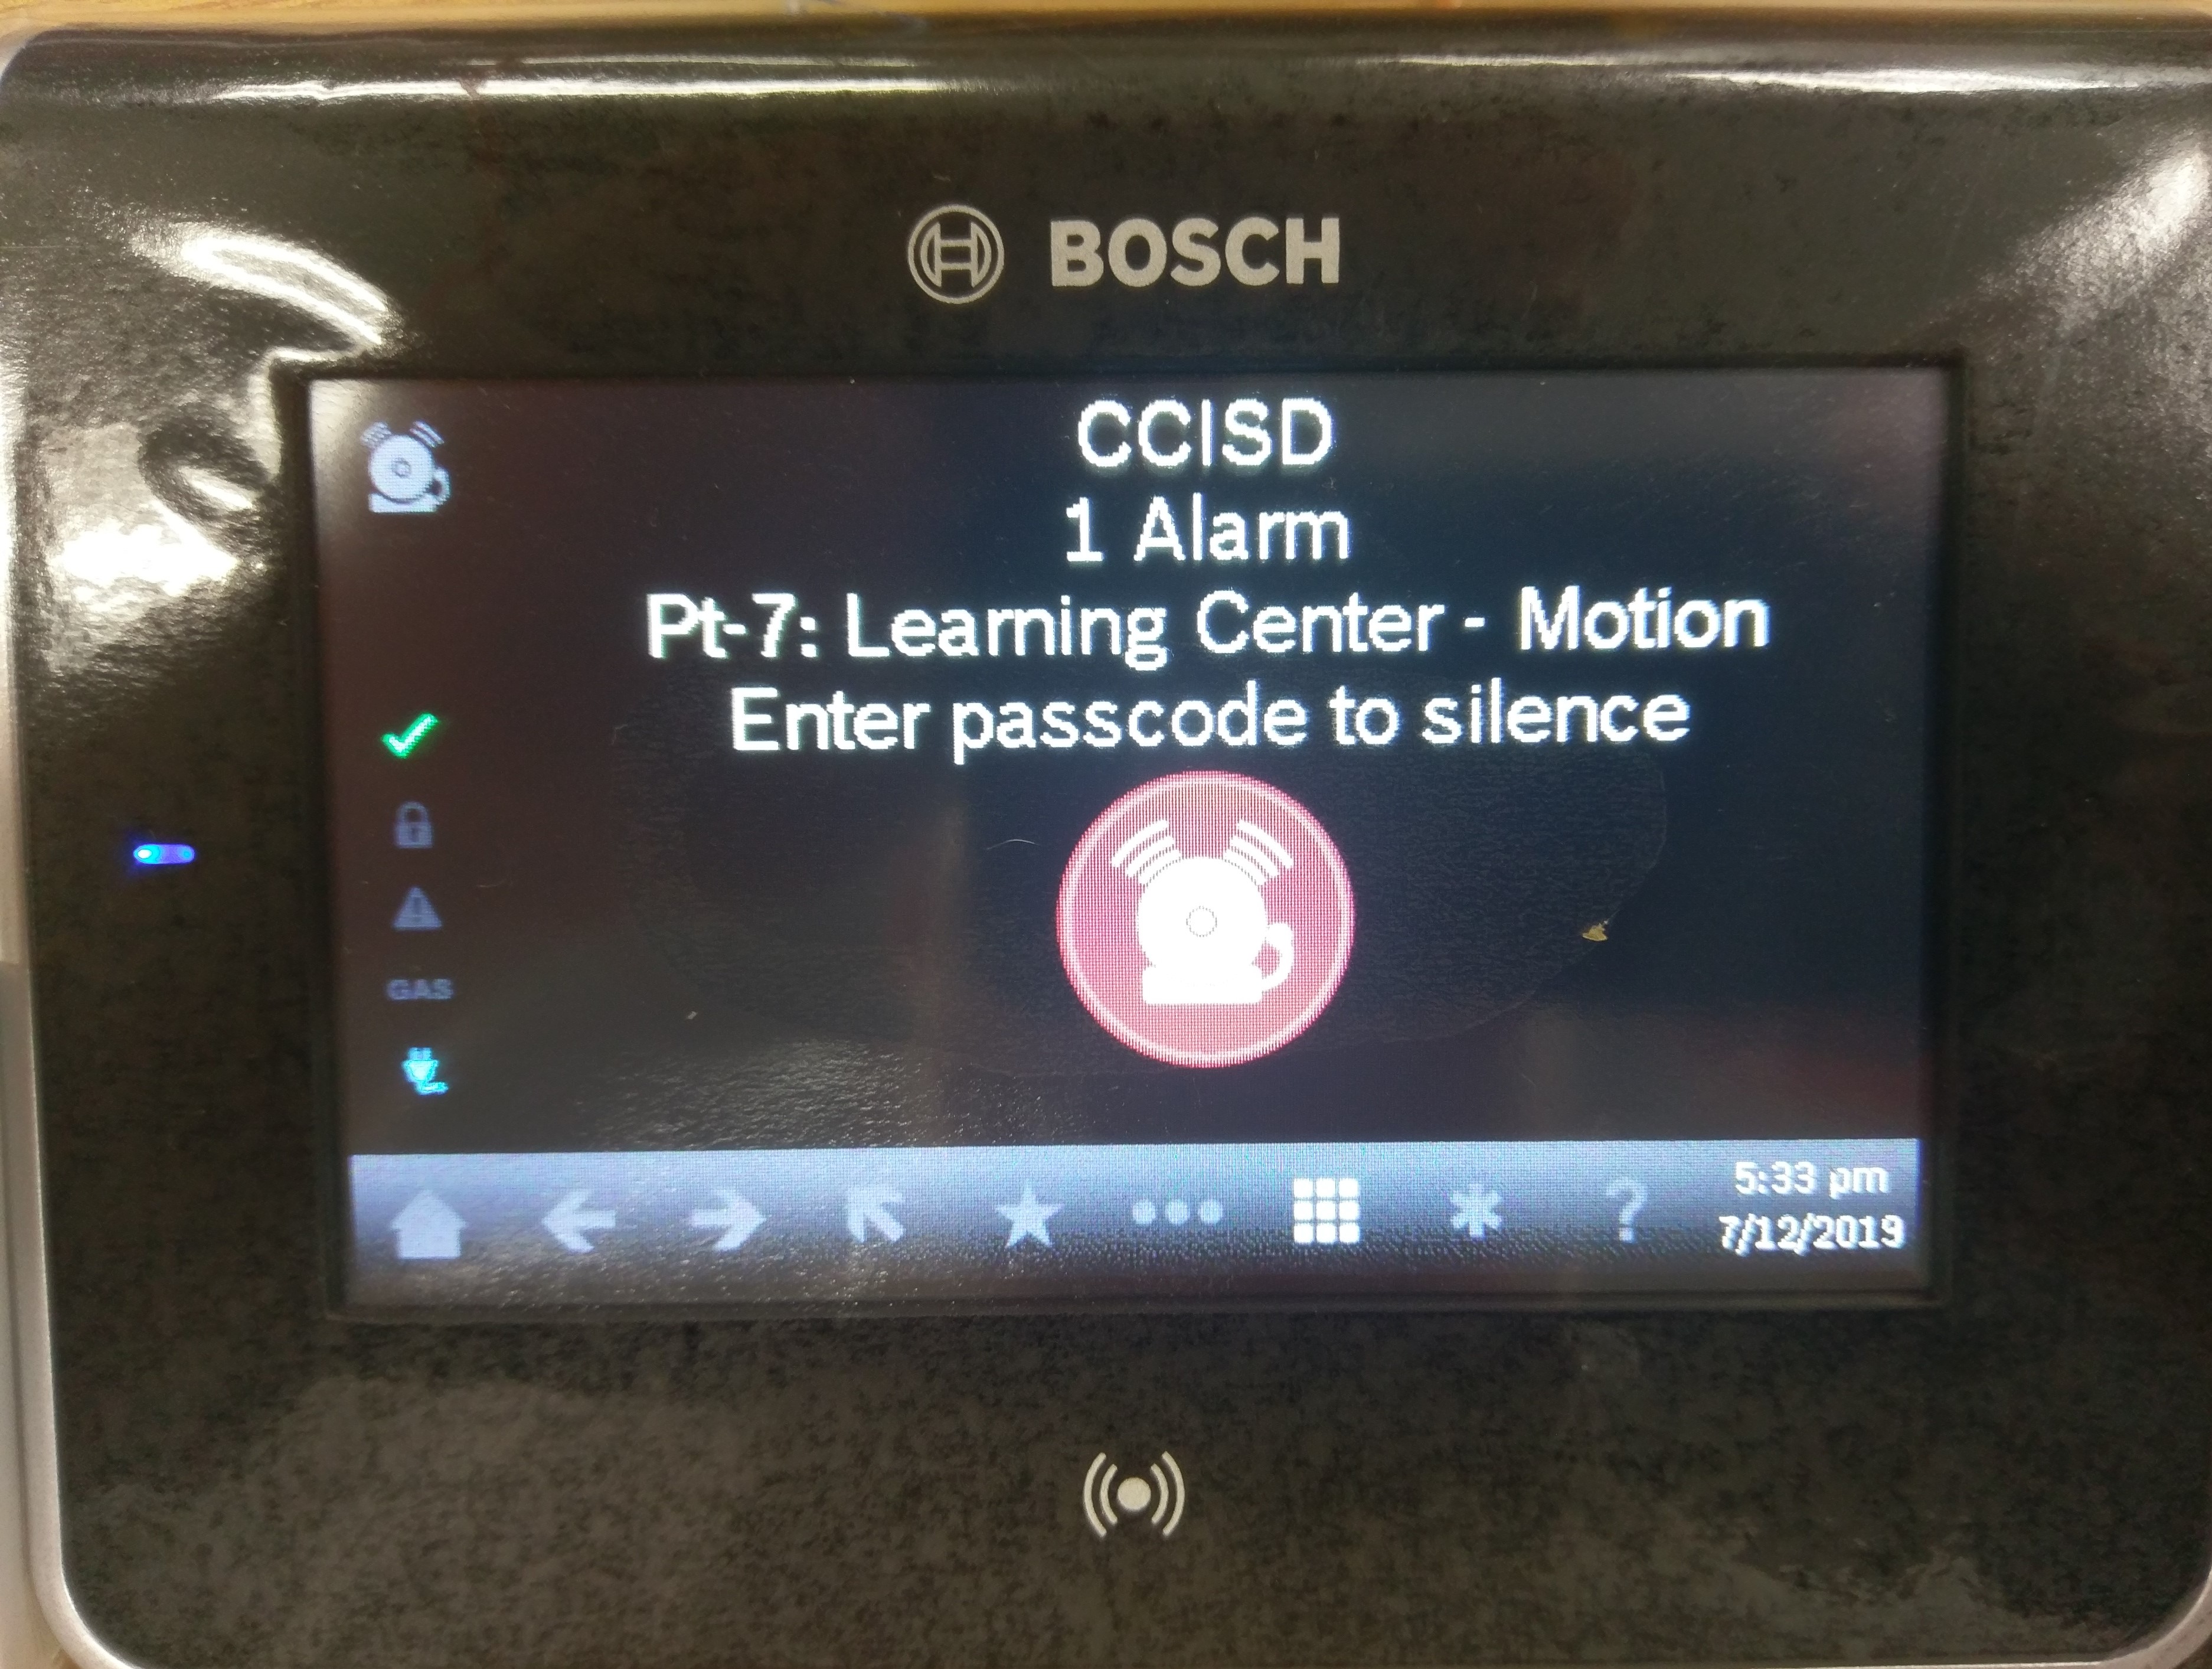
If the alarm goes off, follow this procedure:
- Silence the alarm. Touch the red alarm iconIf you are outside, simply enter the building with your badge.
- Fix the problem in the building (Close open door, papers waving in front of motion sensor, ect)
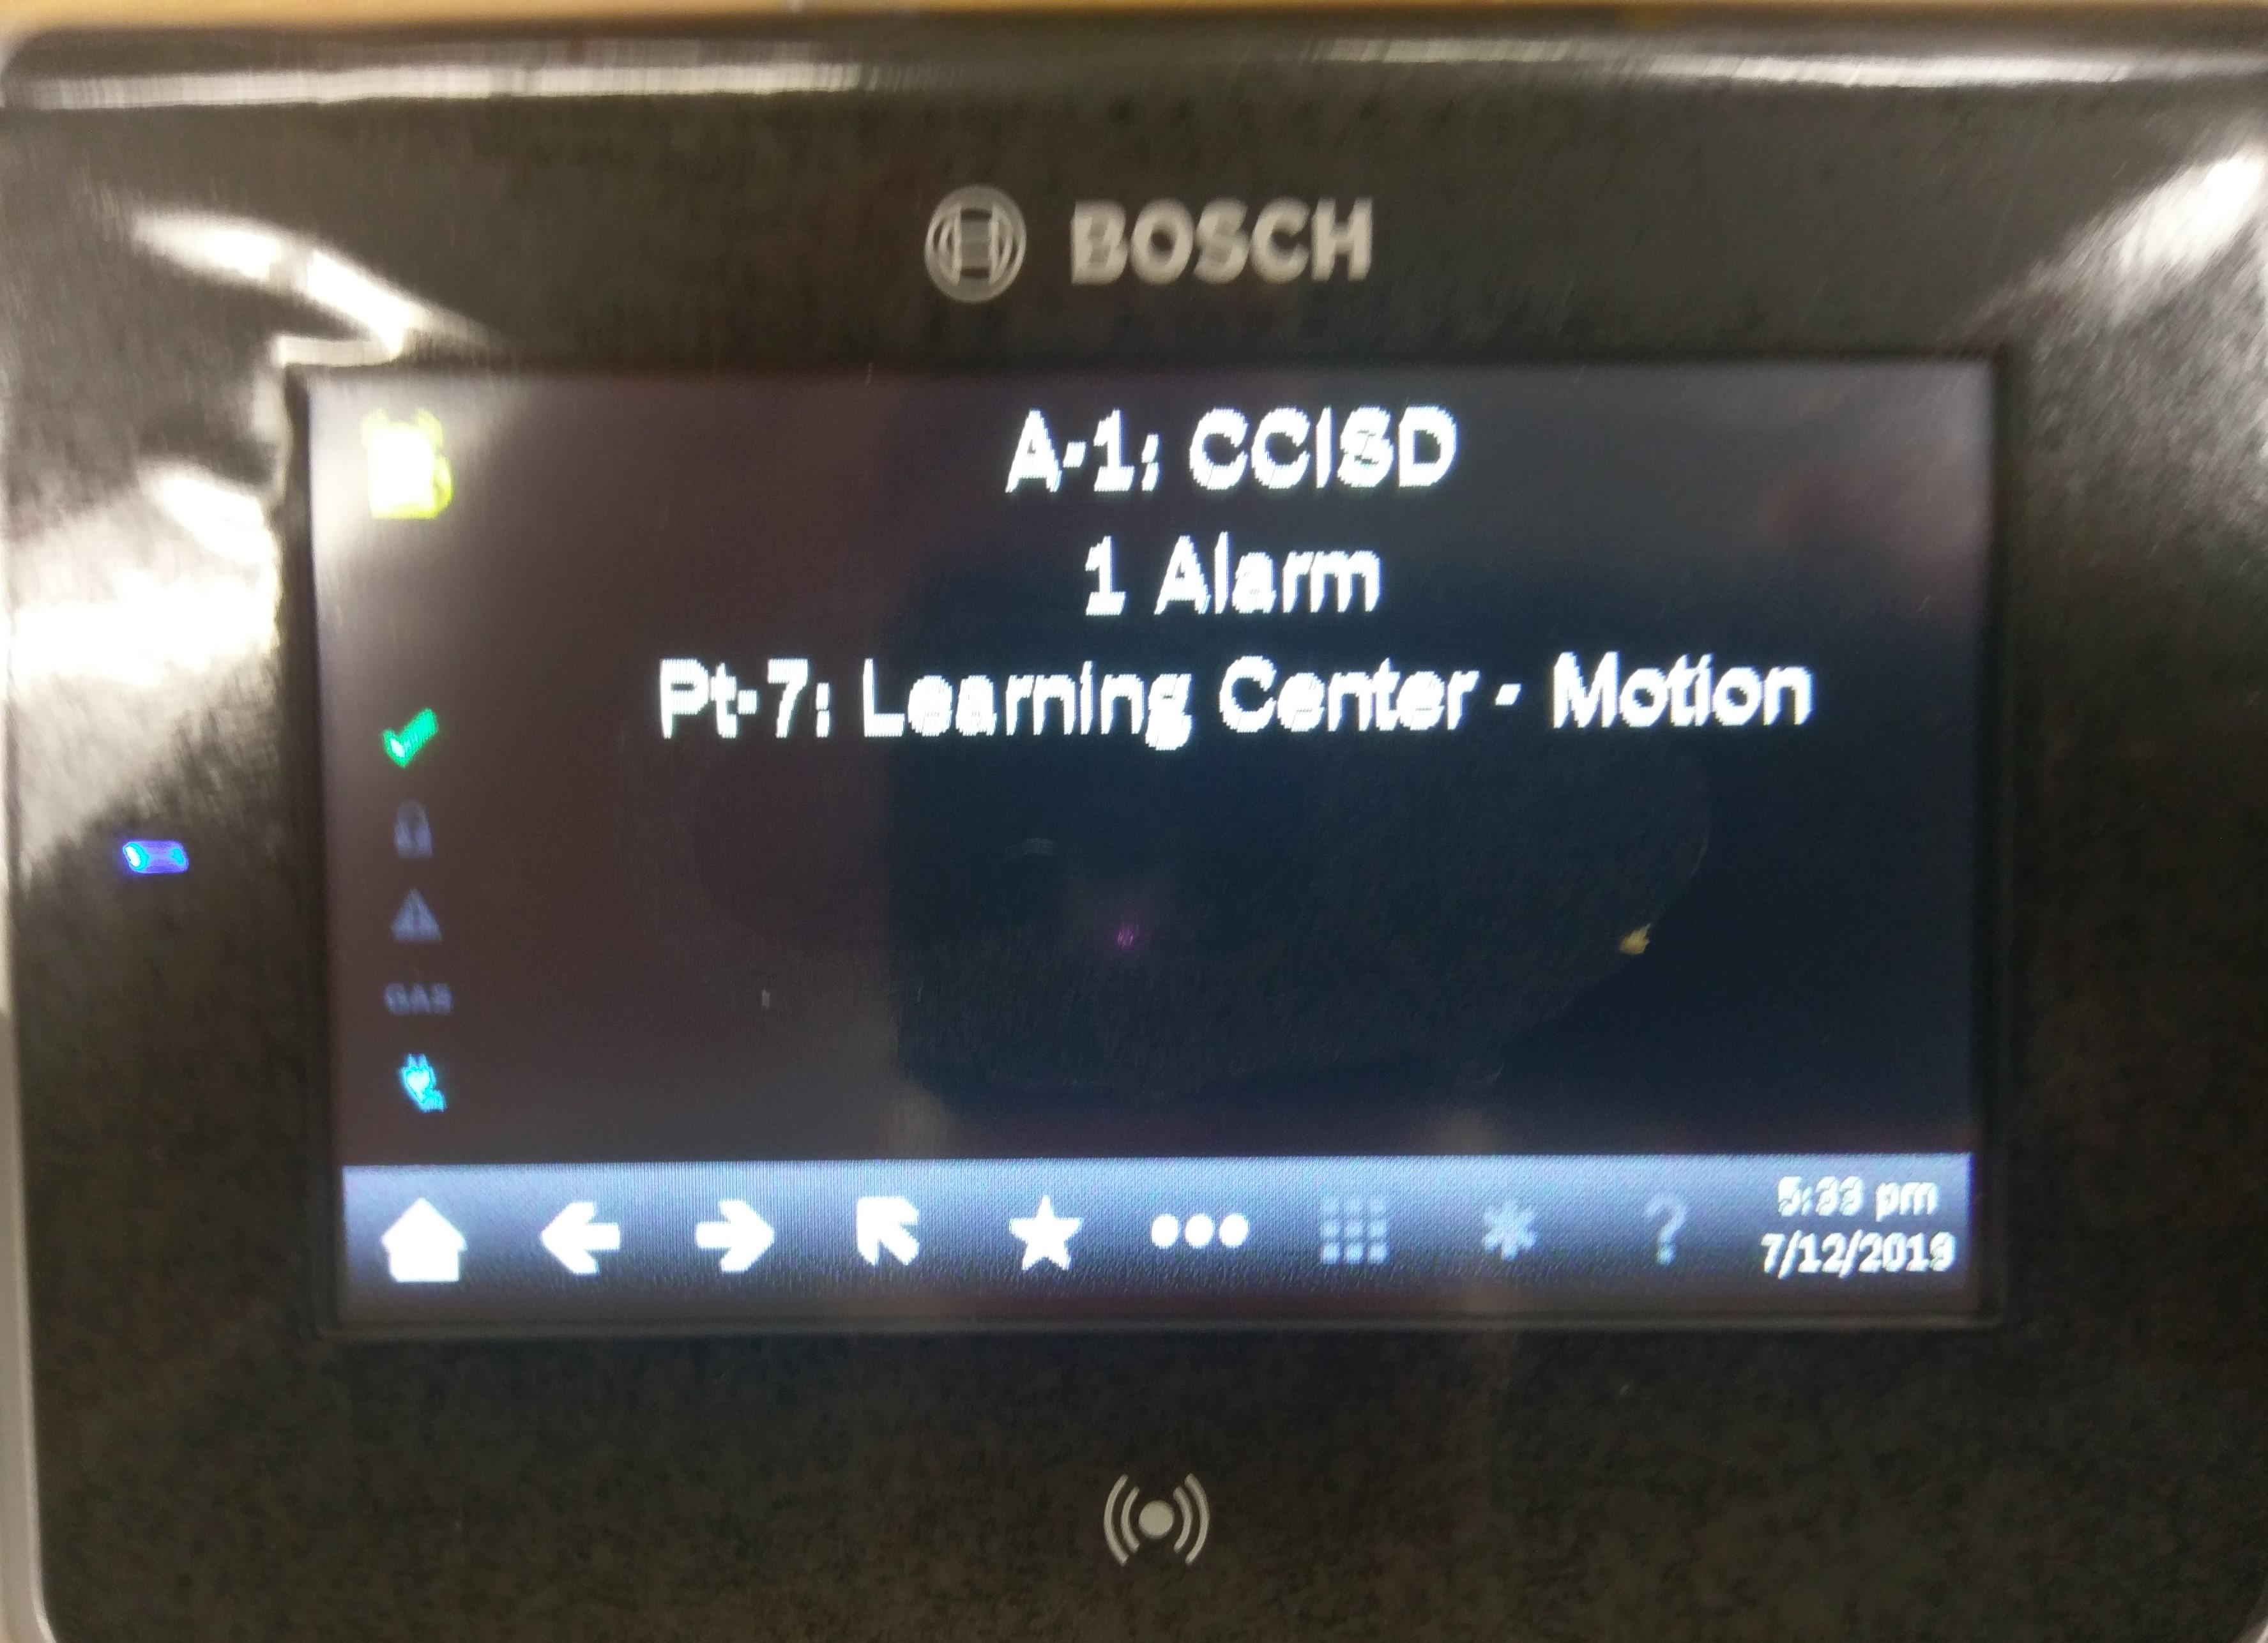
- (optional) Once the system is disarmed, view the events with the icon in the upper left hand corner.
- Once the fault is cleared, remove the fault with the clear button on main screen.
- Once cleared the system should return to:
- The system should now return to (one of the following):
- or or
- Please follow the steps for arming above to re-arm the system.
Card Reader Light Colors
The card reader can have 3 different light colors.
| Color | Alarm State | Alarm System State |
|---|---|---|
Red | Armed | Alarm is armed. |
| Amber | Disarmed | Alarm is not ready to be armed and is currently disarmed. |
| Green | Disarmed | Alarm is disarmed and ready to be armed. |
Alarm System Notifications
The system will send notifications to E-Mail and Slack. They will look like this:
| Code Block |
|---|
09/26/2019 6:40PM 425 Alarm, Ar-1 CCISD, Pt-4 LC Reception - Panic Button |
Now, let's take this apart to see what each section does.
| Color | Purpose |
|---|---|
| Red | Time the event occurred. |
| Blue | Account this occurred for and event. Alarm is when something occurs, point restore is when it goes back to normal. |
| Orange | The area in which this event occurred. Some locations only have one area. Others have multiple. |
| Black | The name and number of the point in fault. This is the place in the building with the issue. Do not ignore this section. |
For motion and door alerts you will receive both a "point in alarm" notification and a "point restored" notification. "Point in alarm" indicates when the event first started and "point restored" indicates when it stopped occurring. If this time is very short (about a minute) this is most likely a false alert.
