| Table of Contents |
|---|
Creating an Account
- Before logging in for the first time you need to create an online account.
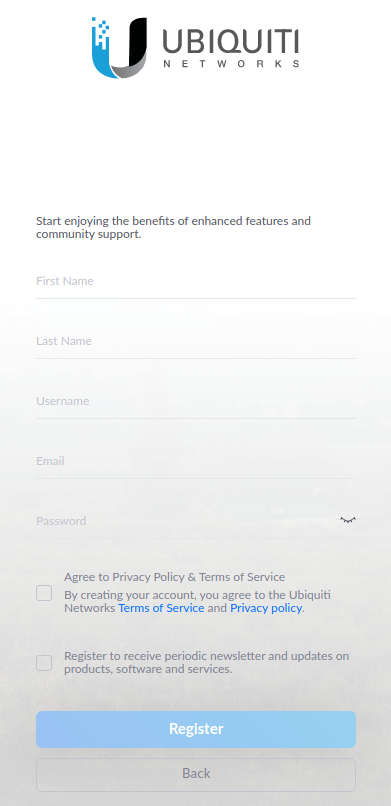
- Open https://account.ui.com/register
- From here enter the requested information. For consistency please put your email address in the 'Username' field.
- Check the box to agree to the Terms of Service.
- Click on Register.
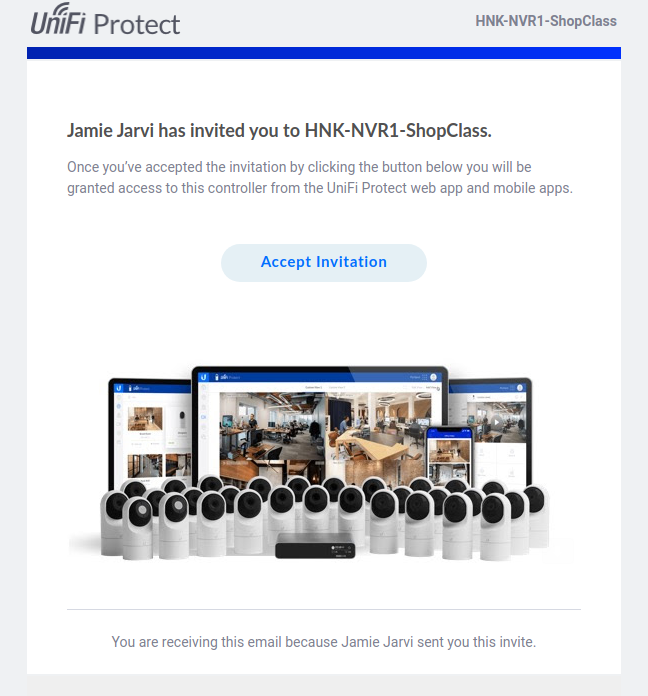
- REMC1 will send you an invite via email to access the security system, be sure to check your Spam folder.
- If you do not get this invite, or it is expired, contact REMC1 to re-send it.
- Simply clicking on "Accept Invitionation" in the email will give you access to the security system.
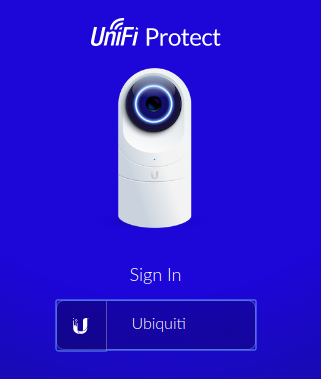
- You can now log in at https://protect.ui.com/
- Once logged in you will see a list of security systems you have access to (typically only one).
- Click on the name of the system you are going to access.
Viewing Cameras
- From the left navigation bar, click on the top icon, under the large "U"
- You may click on any camera to get a small view of it that will display along the right side of the screen.
- Click the 'play' button in the middle of the image to view a larger live image. Alternatively you can click on "Live Feed" along the right side of the screen.
Creating and Viewing Live Views
- In addition to viewing a single camera, you can also create a Live View/video wall that contains from 1-26 cameras.
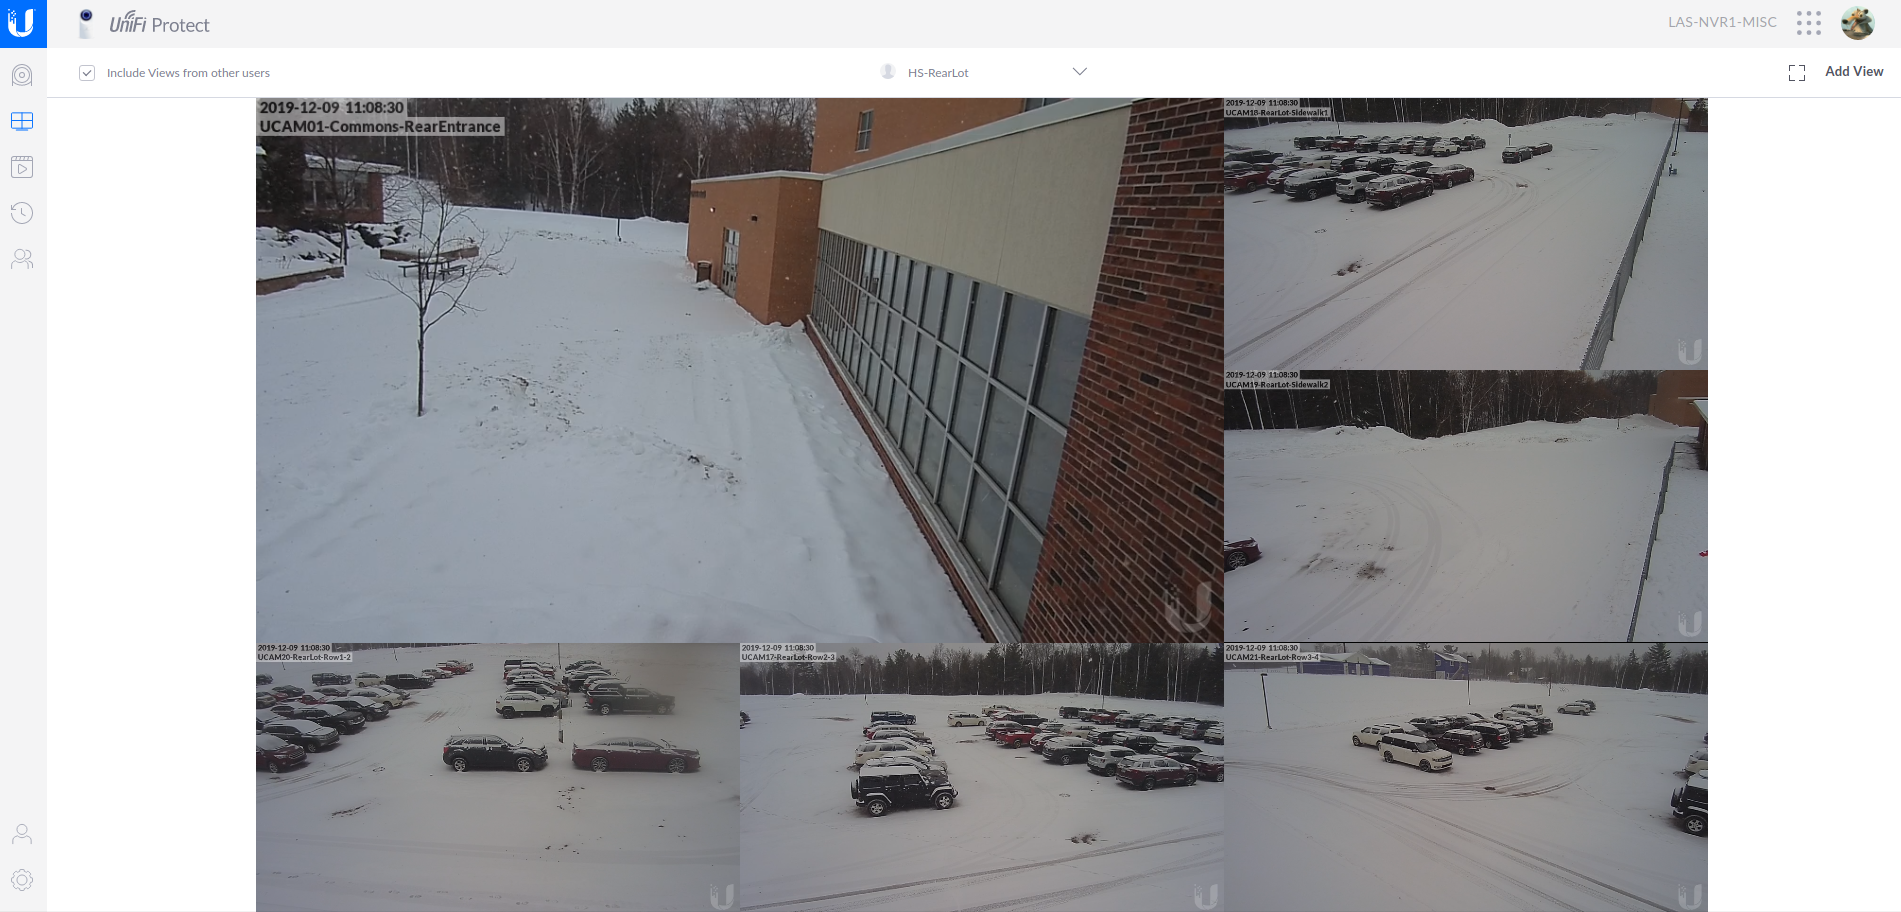
- Click on the second icon below the large "U"
- From here you can add, remove, or view existing Live Views.
- Be sure to click on checkbox "Include Views from other users" to see existing shared views created by other users.
- At the top of the screen you can click the drop-down box to select other views. In the screenshot below it is called "HS-RearLot" for example.
- Additionally, you may create your own Live Views by clicking on "Add View" in the upper right corner.
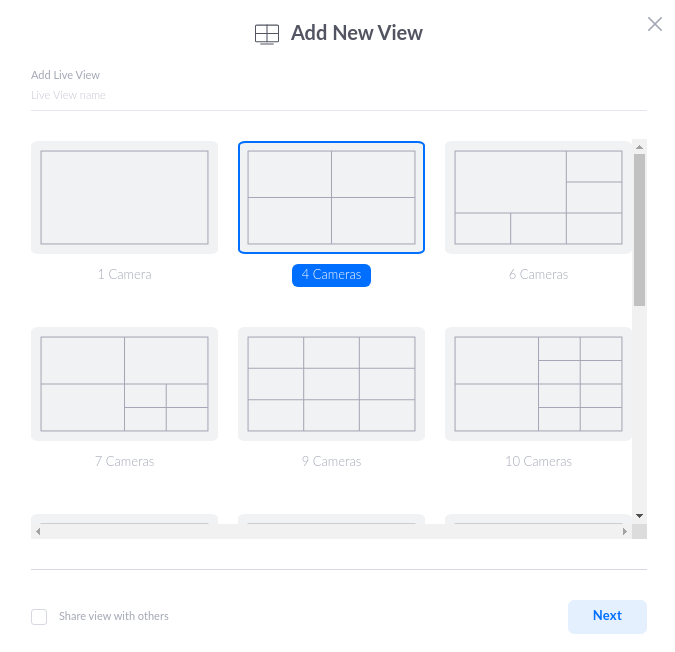
- In the Add New View window, choose your desired layout.
- Optional: click on "Share view with others" in the lower left so that other users may use the Live View you are creating.
- Click Next.
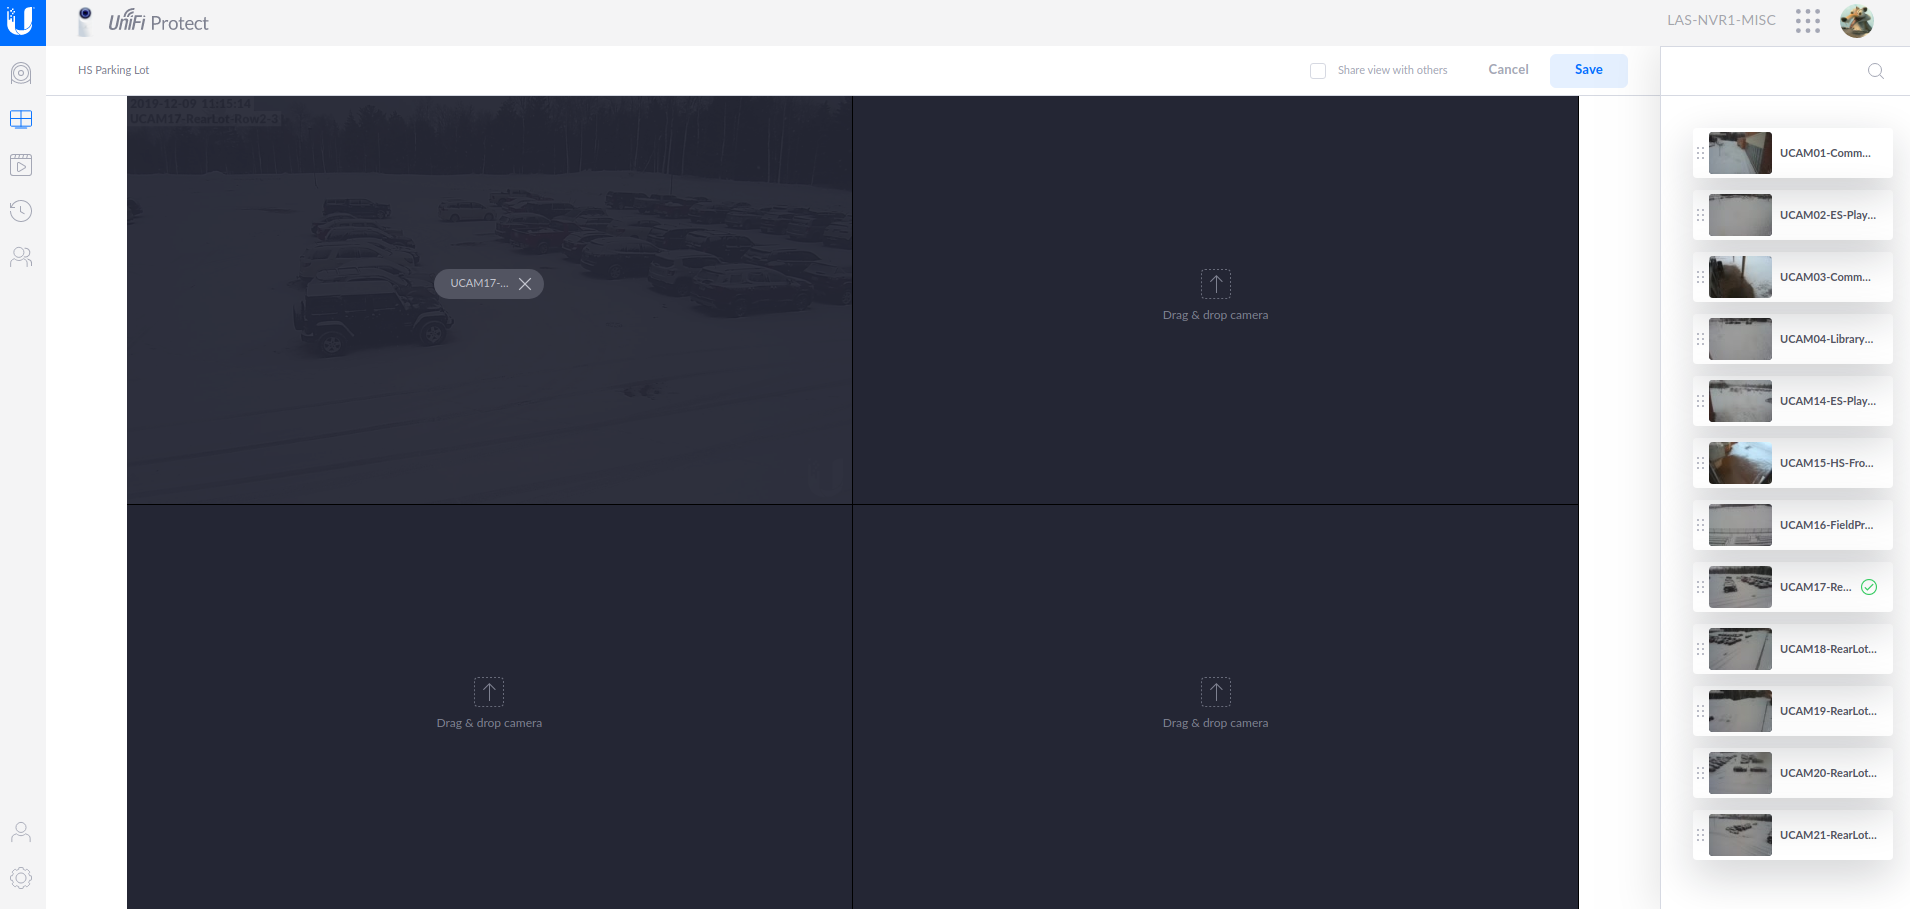
- At the next screen you can setup your Live View.
- In the upper right be sure to give your view a name, such as "HS Parking Lot"
- Click on a camera along the right side of the screen and drag the camera to one of the spaces in the new view.
- Once you are done, click the Save button in the upper right corner.
Viewing Recorded Video
| Info |
|---|
Per administration, not all users may have access to recorded video. |
From the left side of the screen you may click on either the 3rd of 4th icon under the large "U"
The first one is "Events" and the second is "Timelapse"
Events are motion-detected recordings - Use the options along the top of the screen to narrow down your search.
